Globus
Globus is a service that enables high-performance and convenient data transfer and sharing of large amounts of data.
Using Globus on ARCHER2
The ARCHER2 filesystems have a Globus Collection (formerly known as an endpoint) with the name "Archer2 file systems" A full step-by-step guide on transferring data to/from ARCHER2 is provided below
Step-by-step example
Setting up ARCHER2 filesystems
Navigate to https://app.globus.org
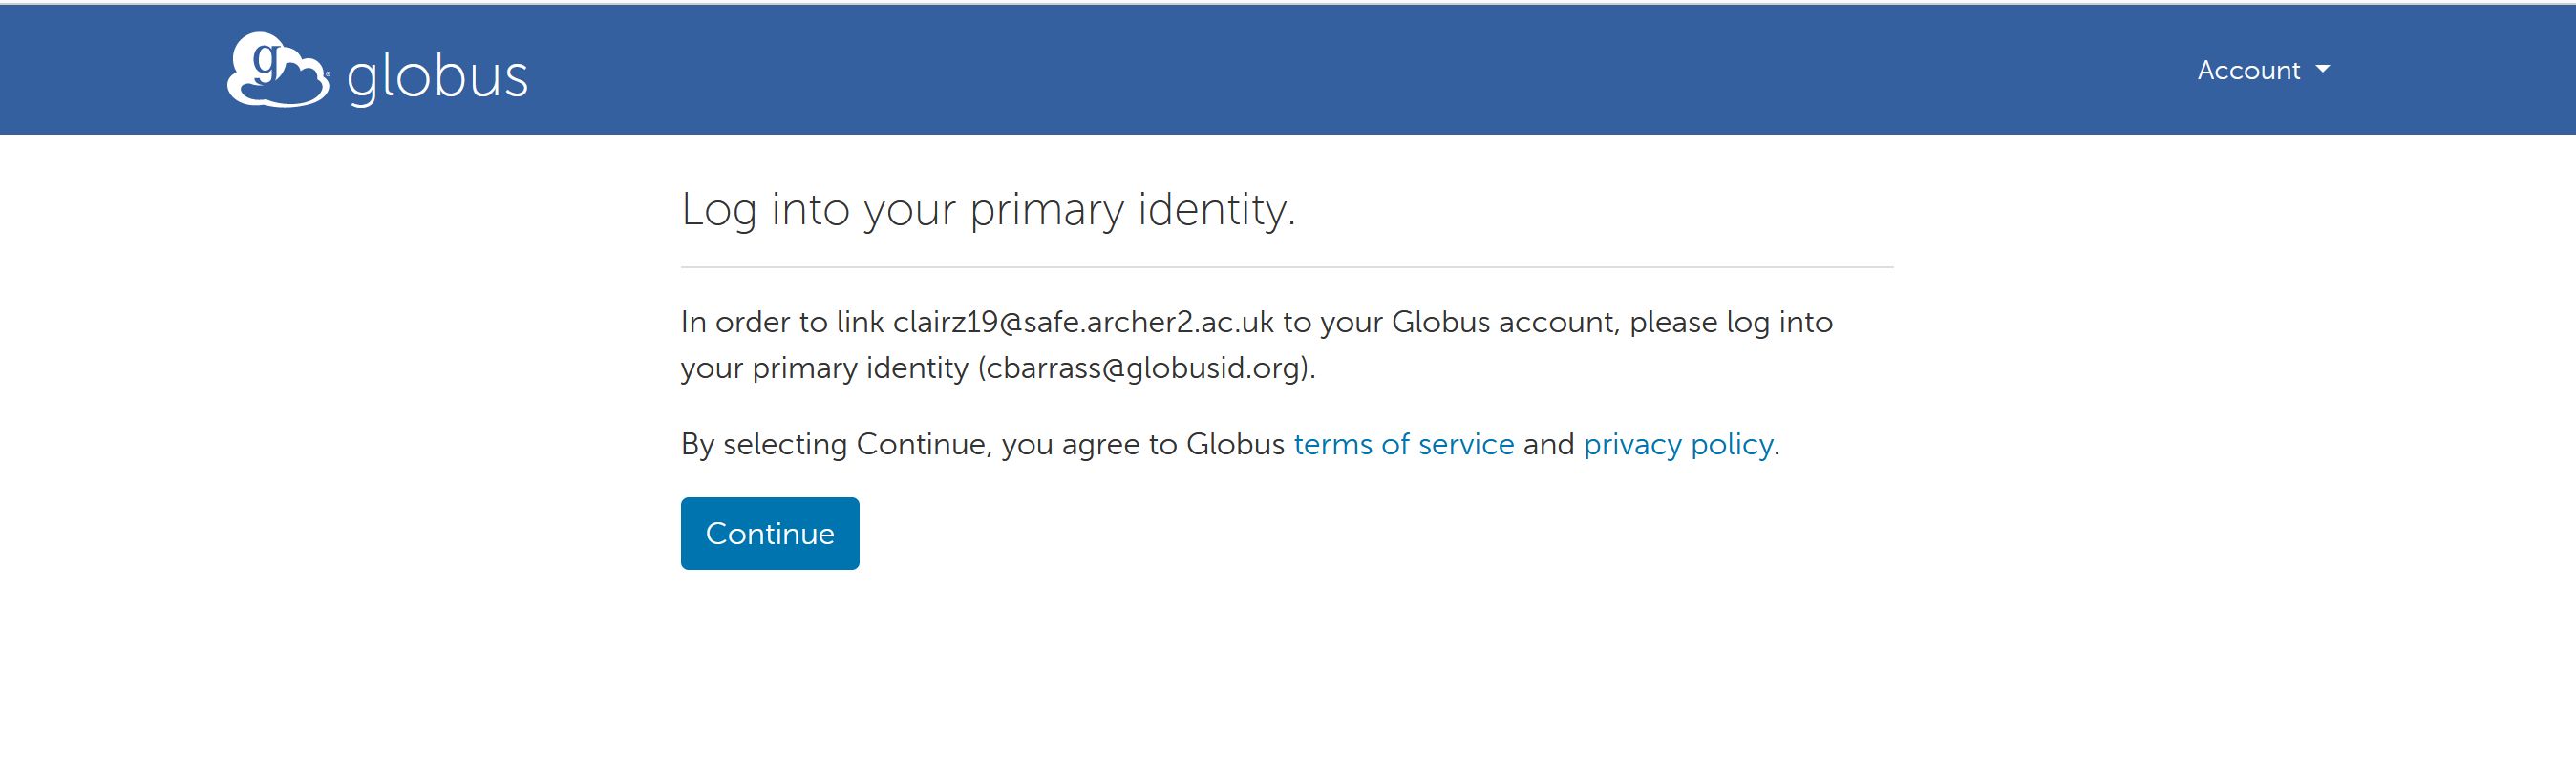
Log in with your Globus identity (this could be a globusid.org or other identity)

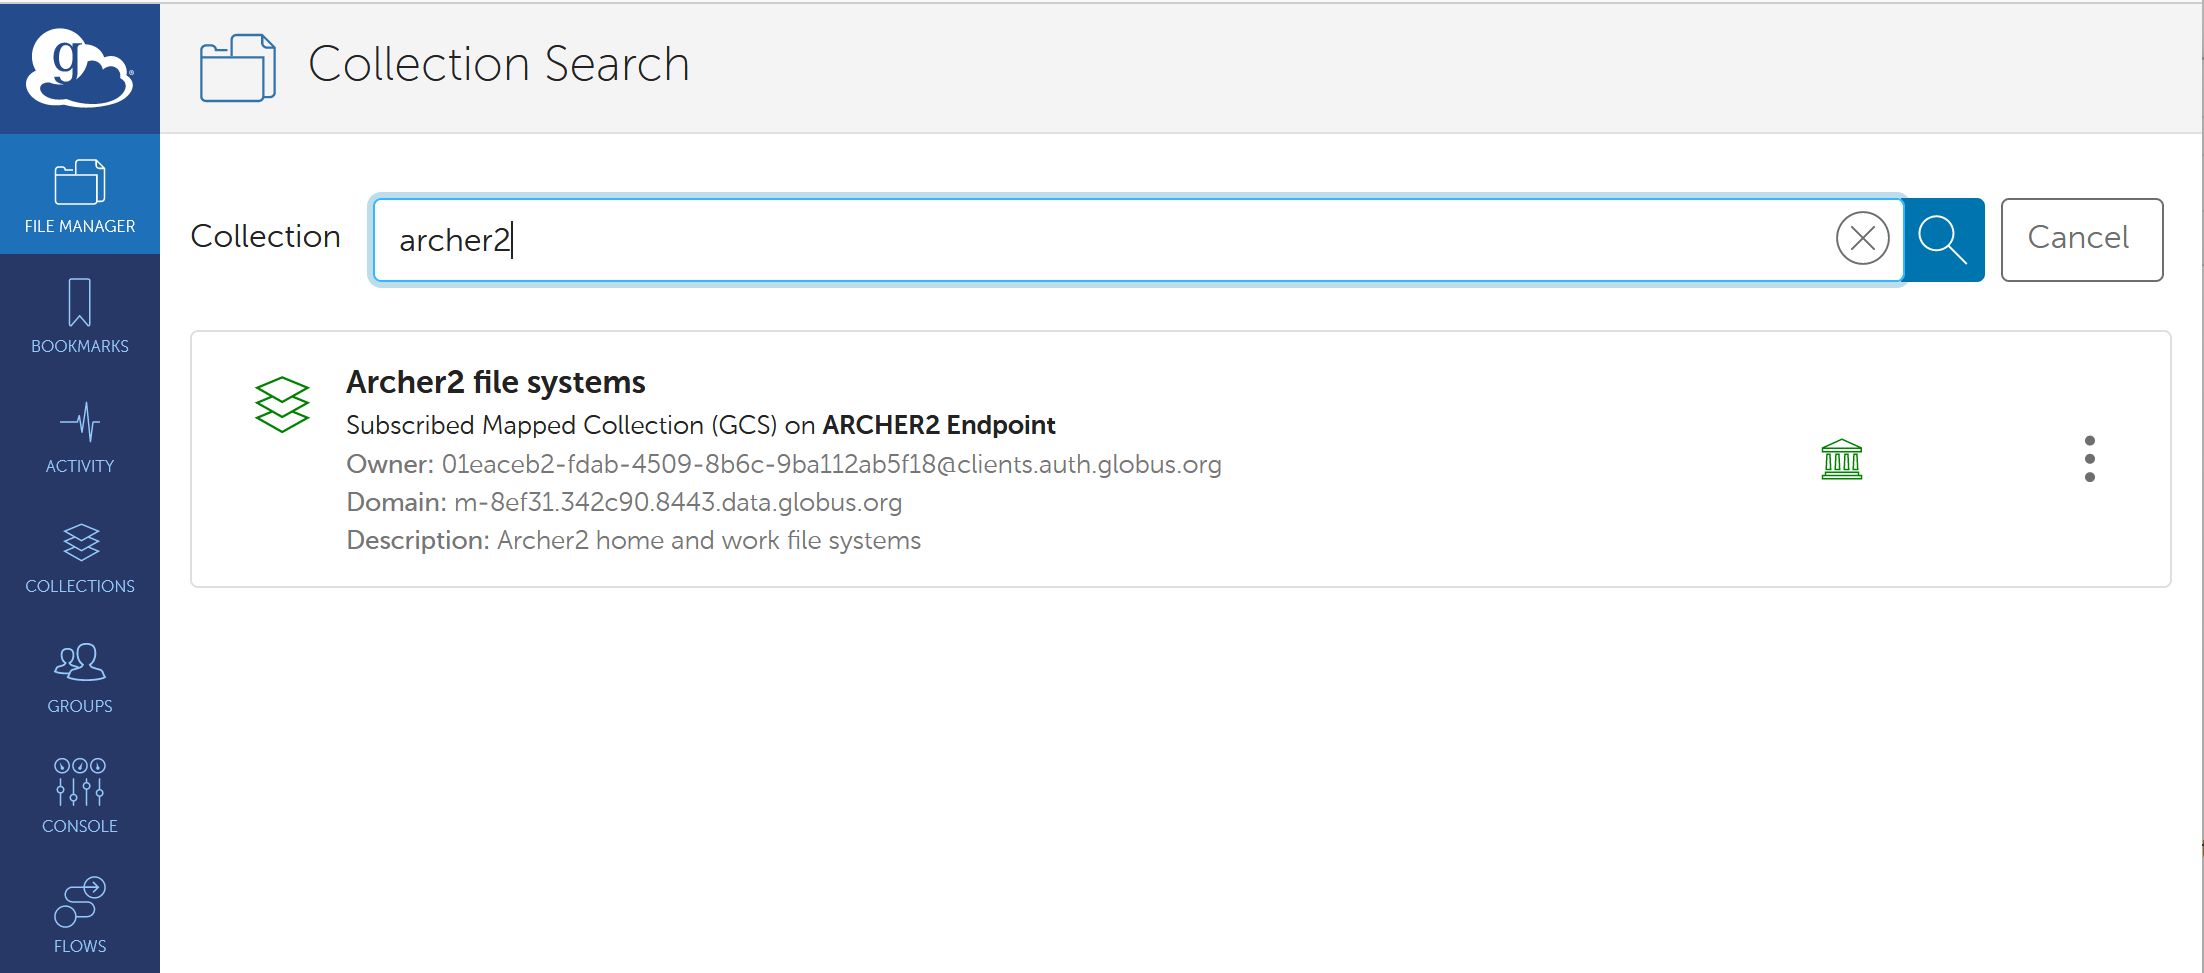
In File Manager, use the search tool to search for “Archer2 file systems”. Select it.
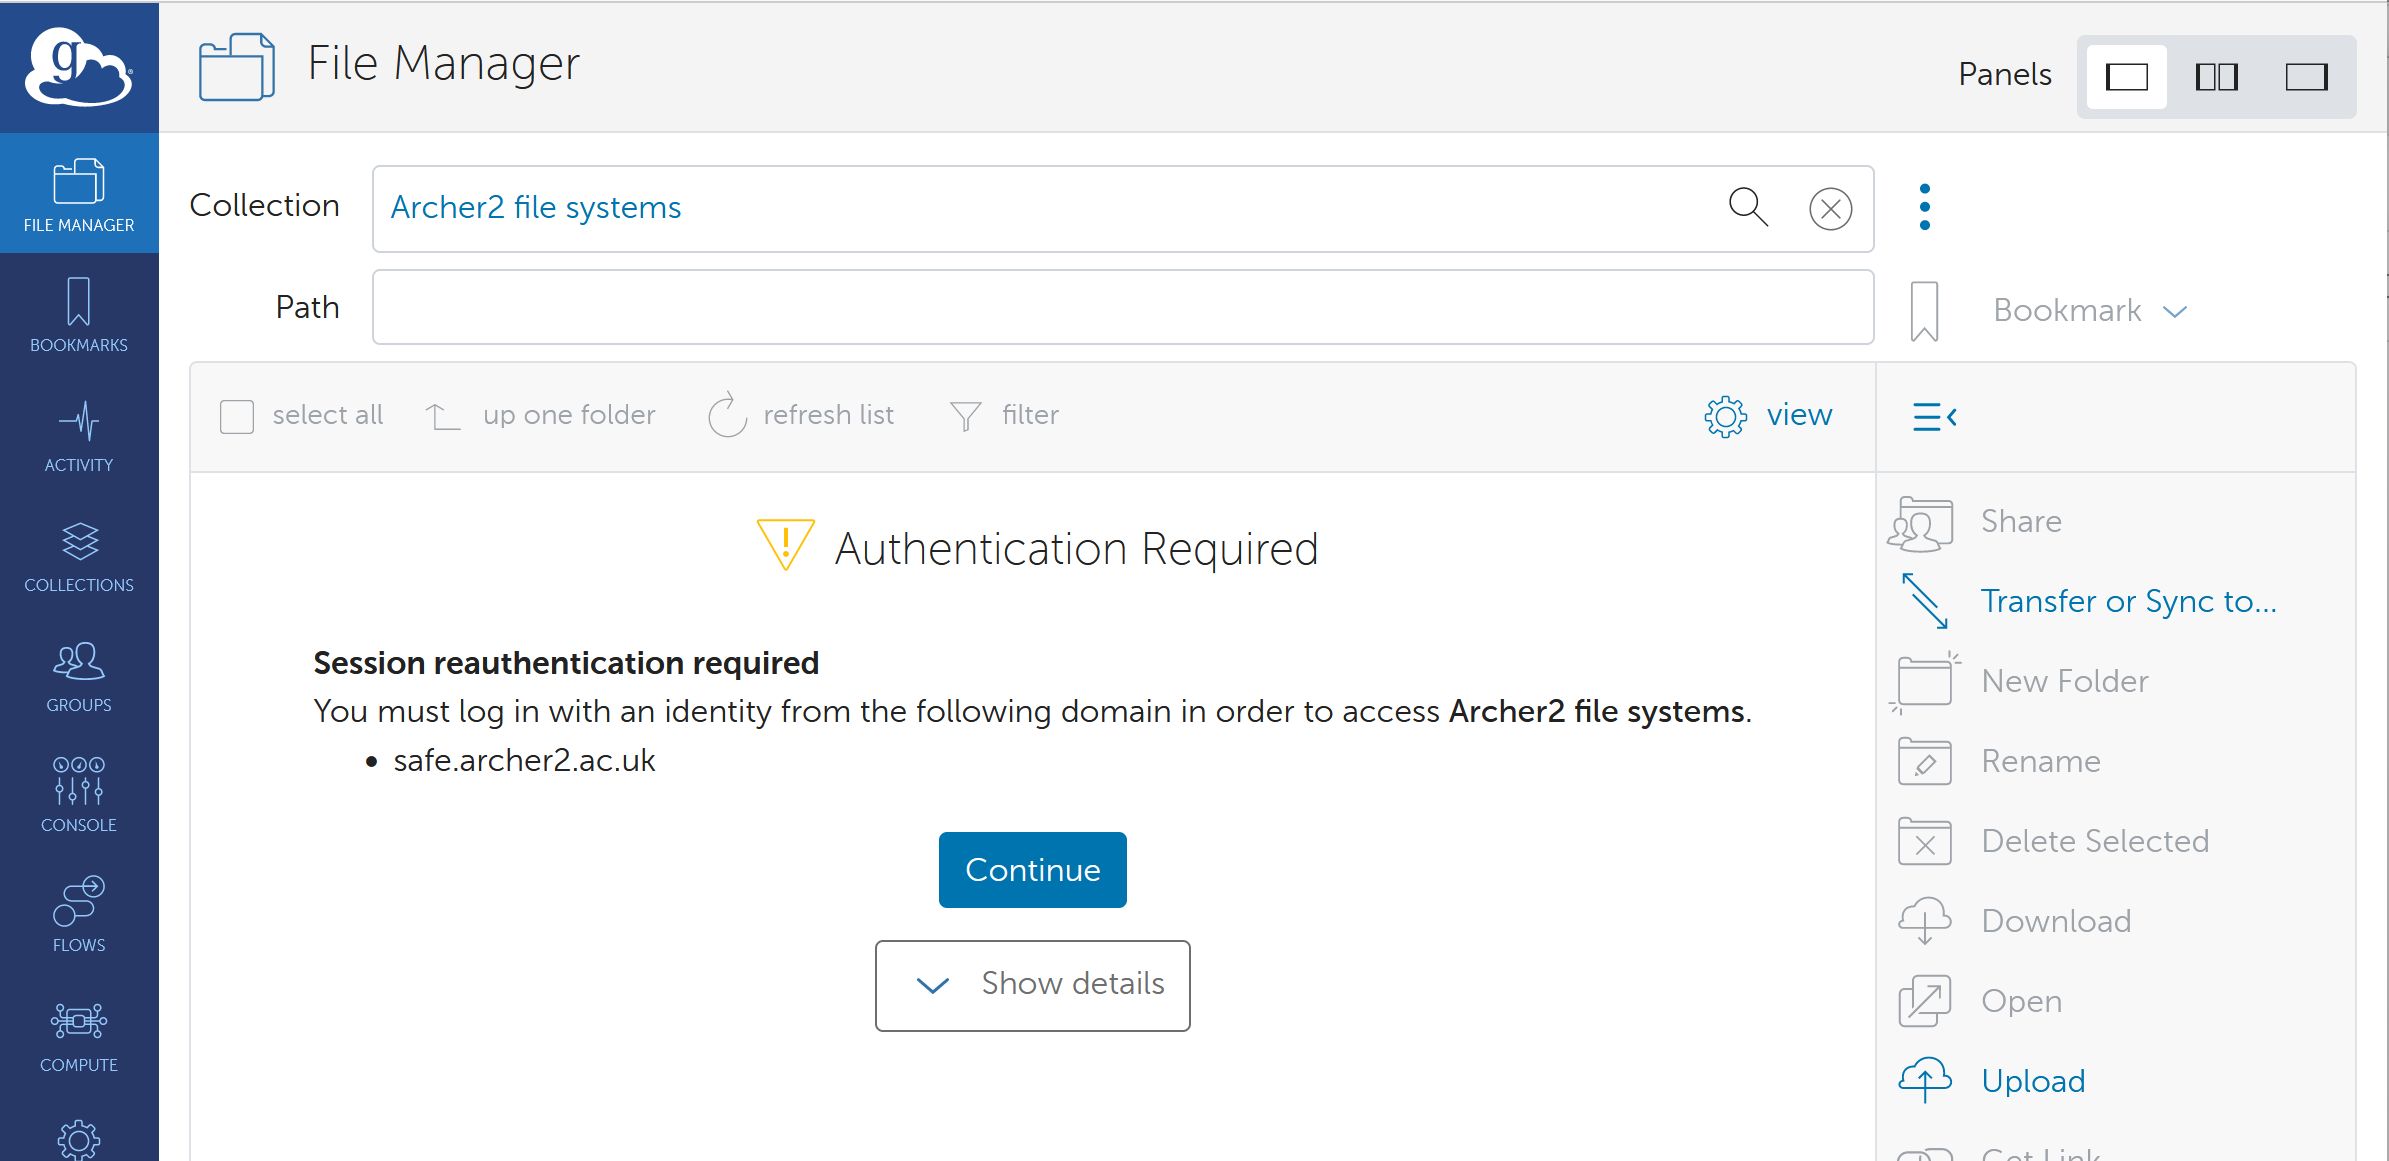
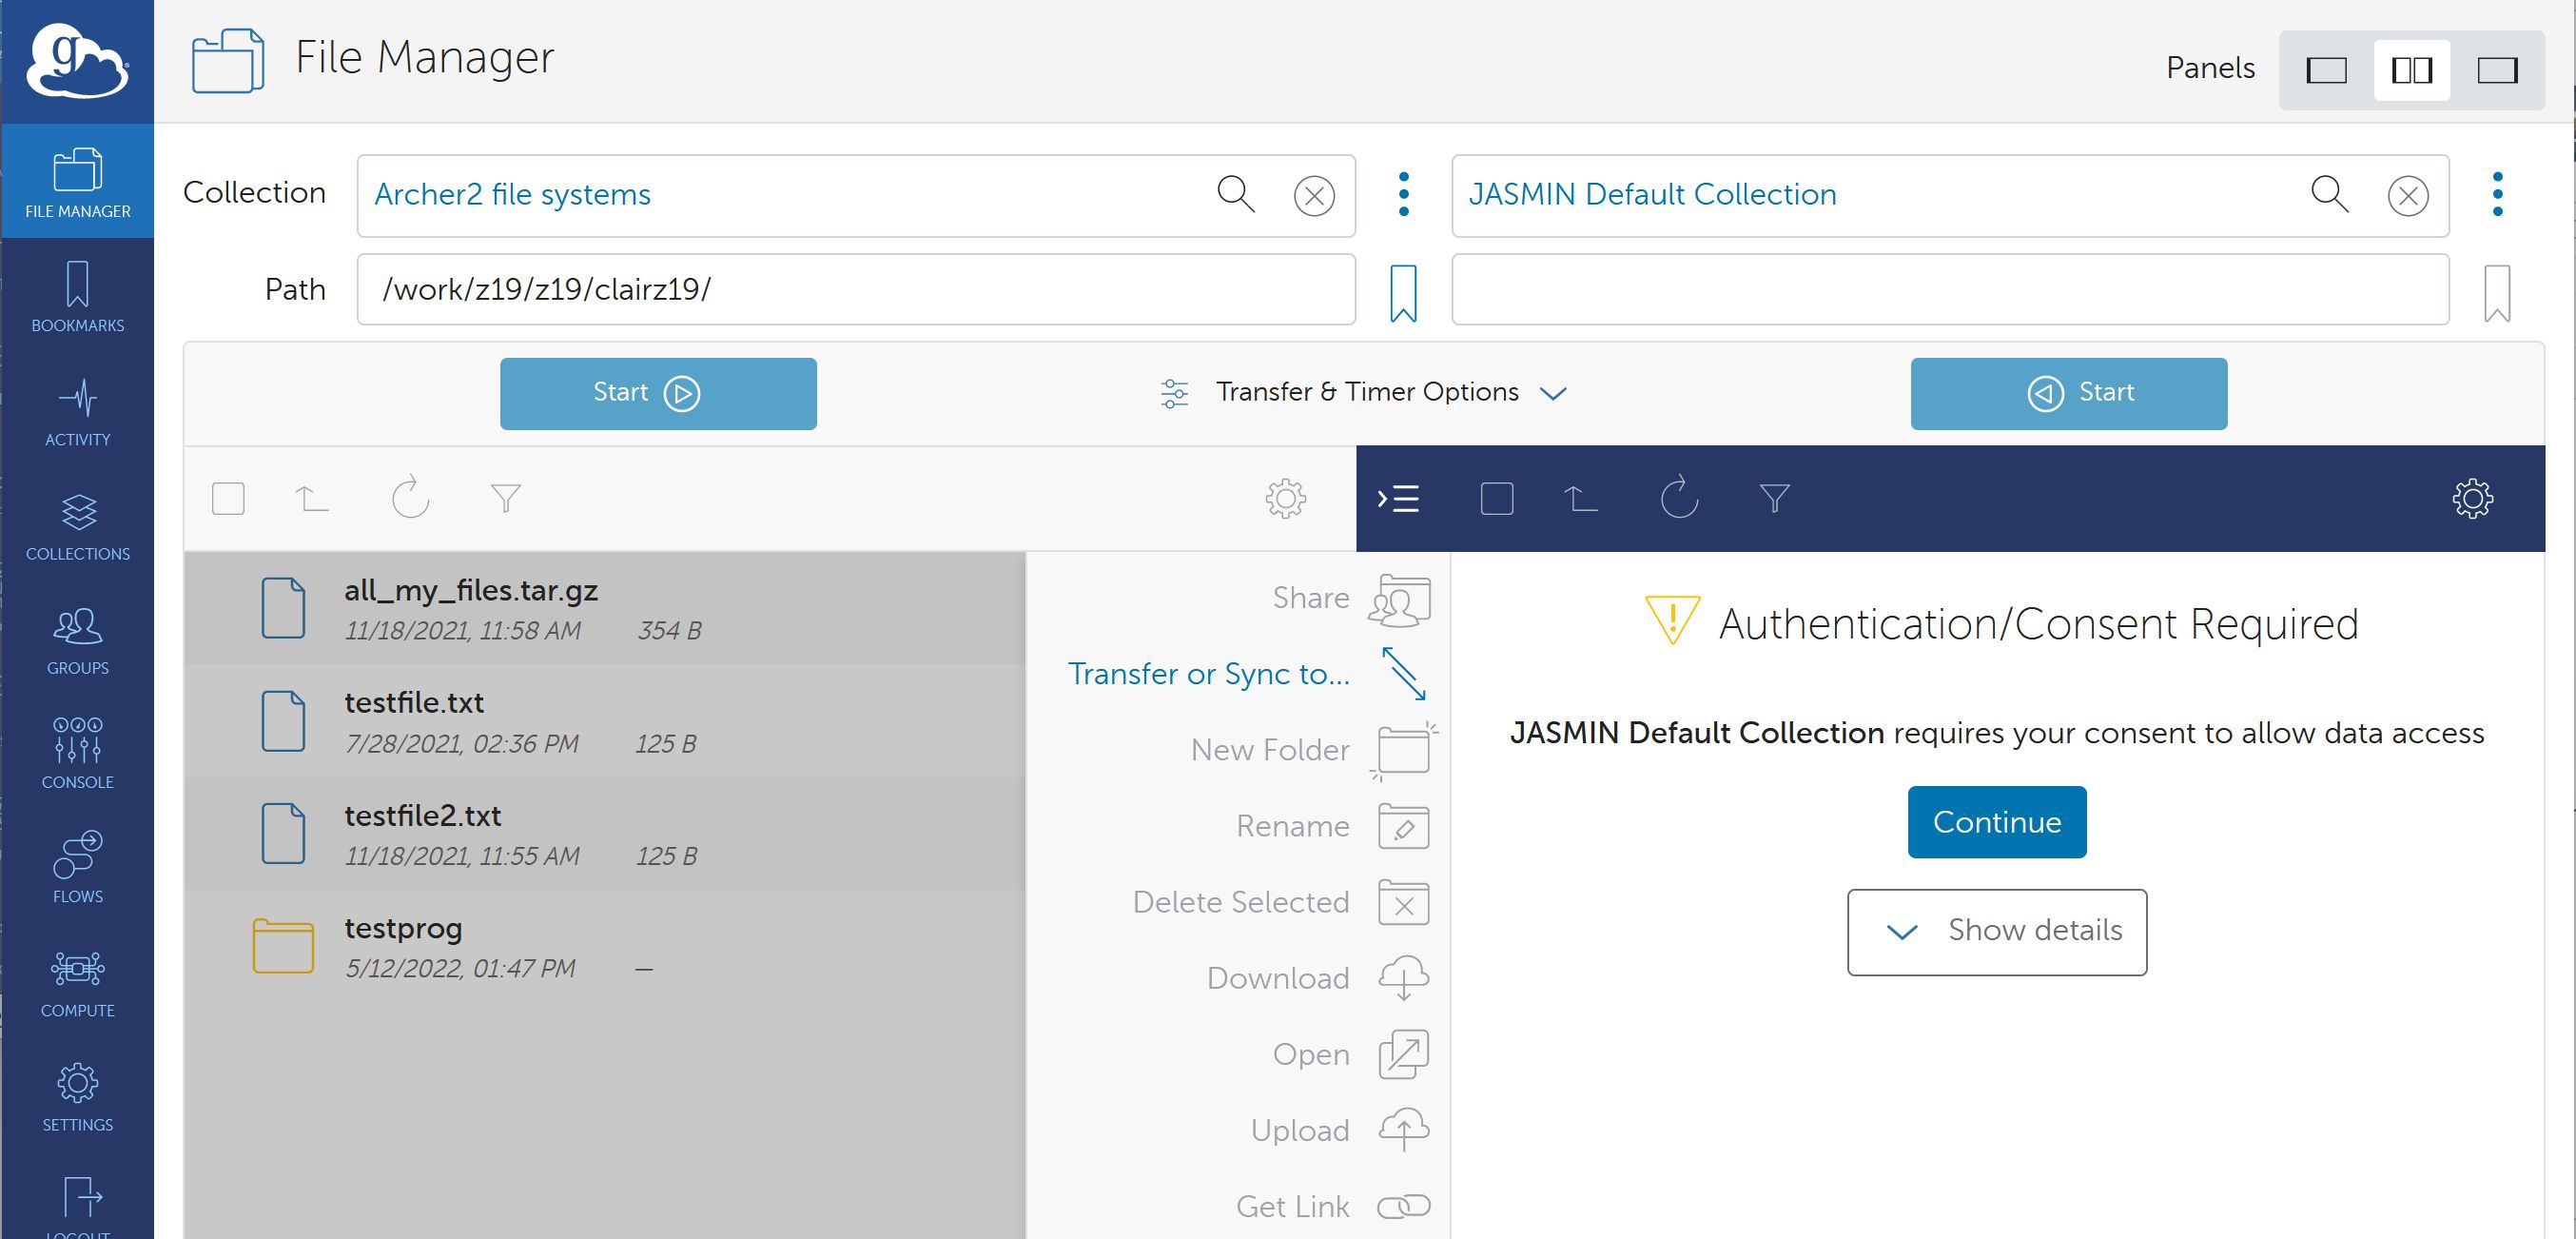
In the transfer pane, you are told that Authentication/Consent is required. Click Continue.
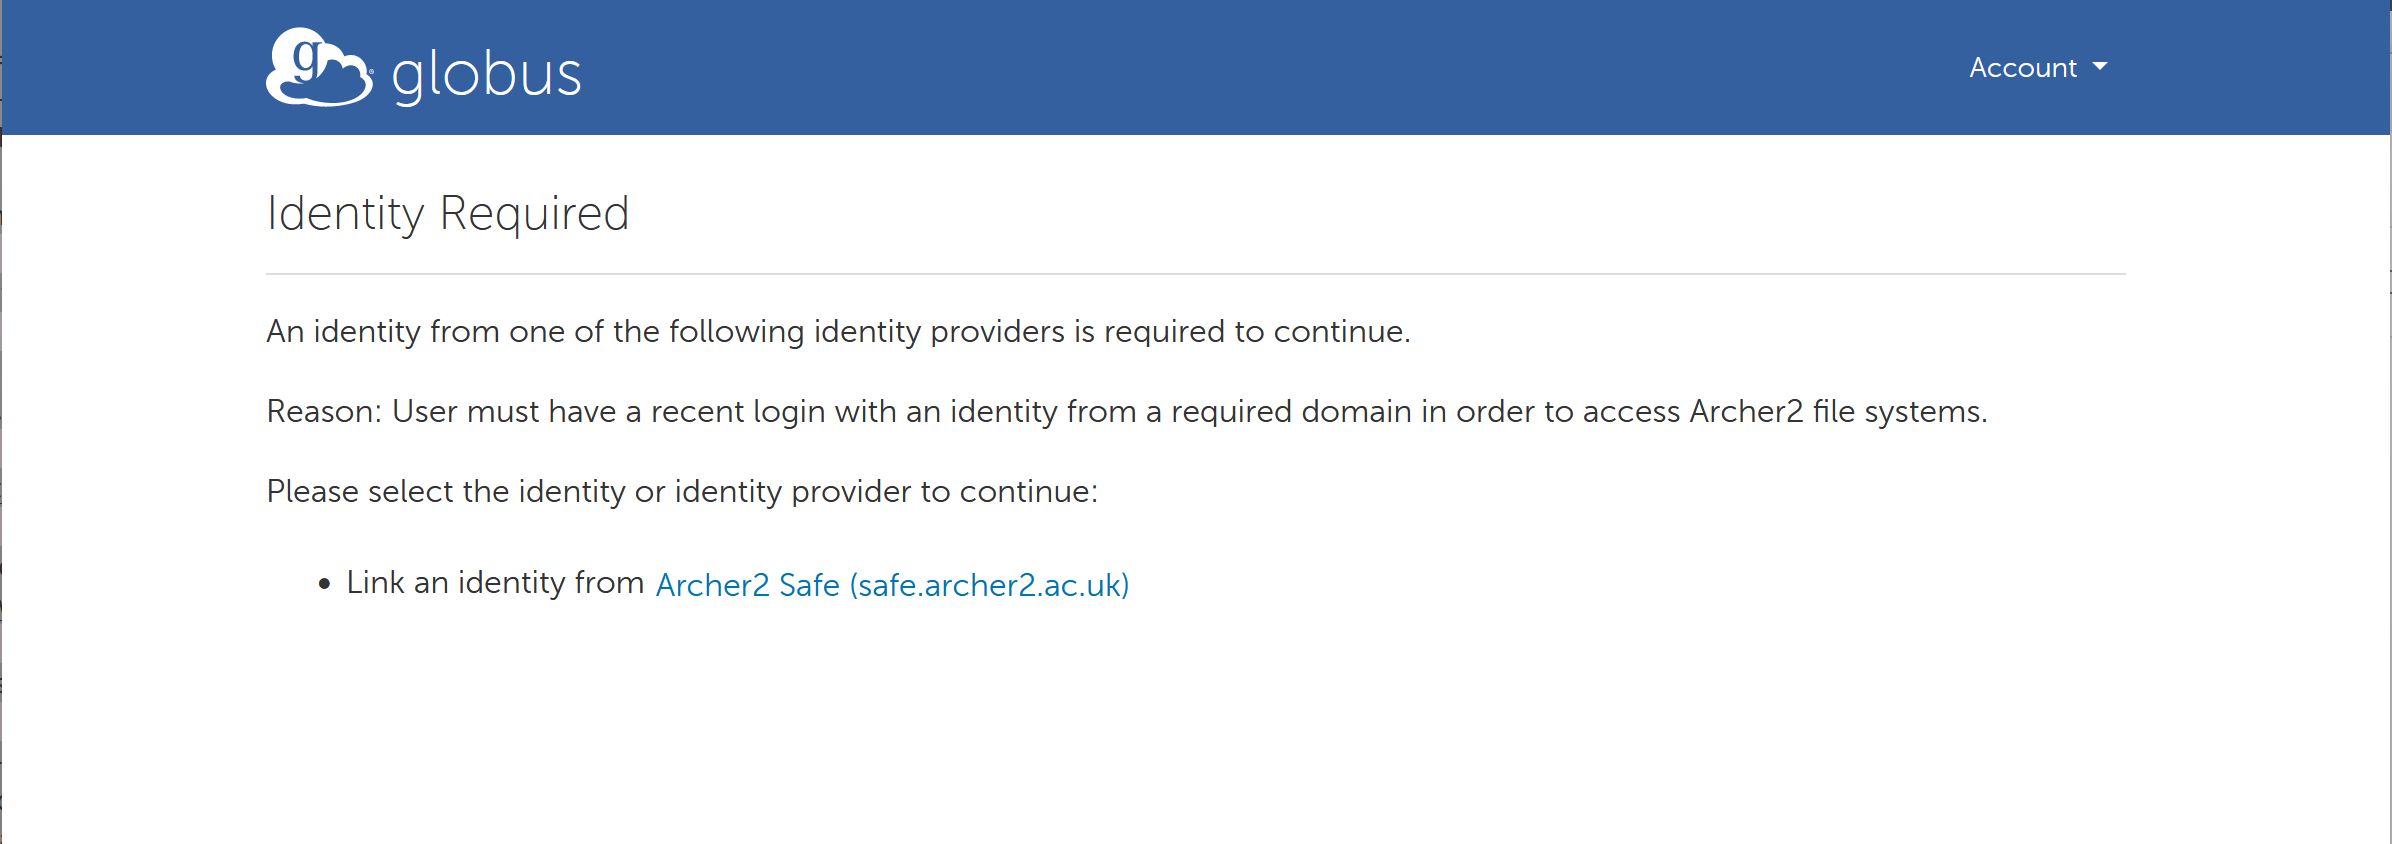
Click on the ARCHER2 Safe (safe.epcc.ed.ac.uk) link
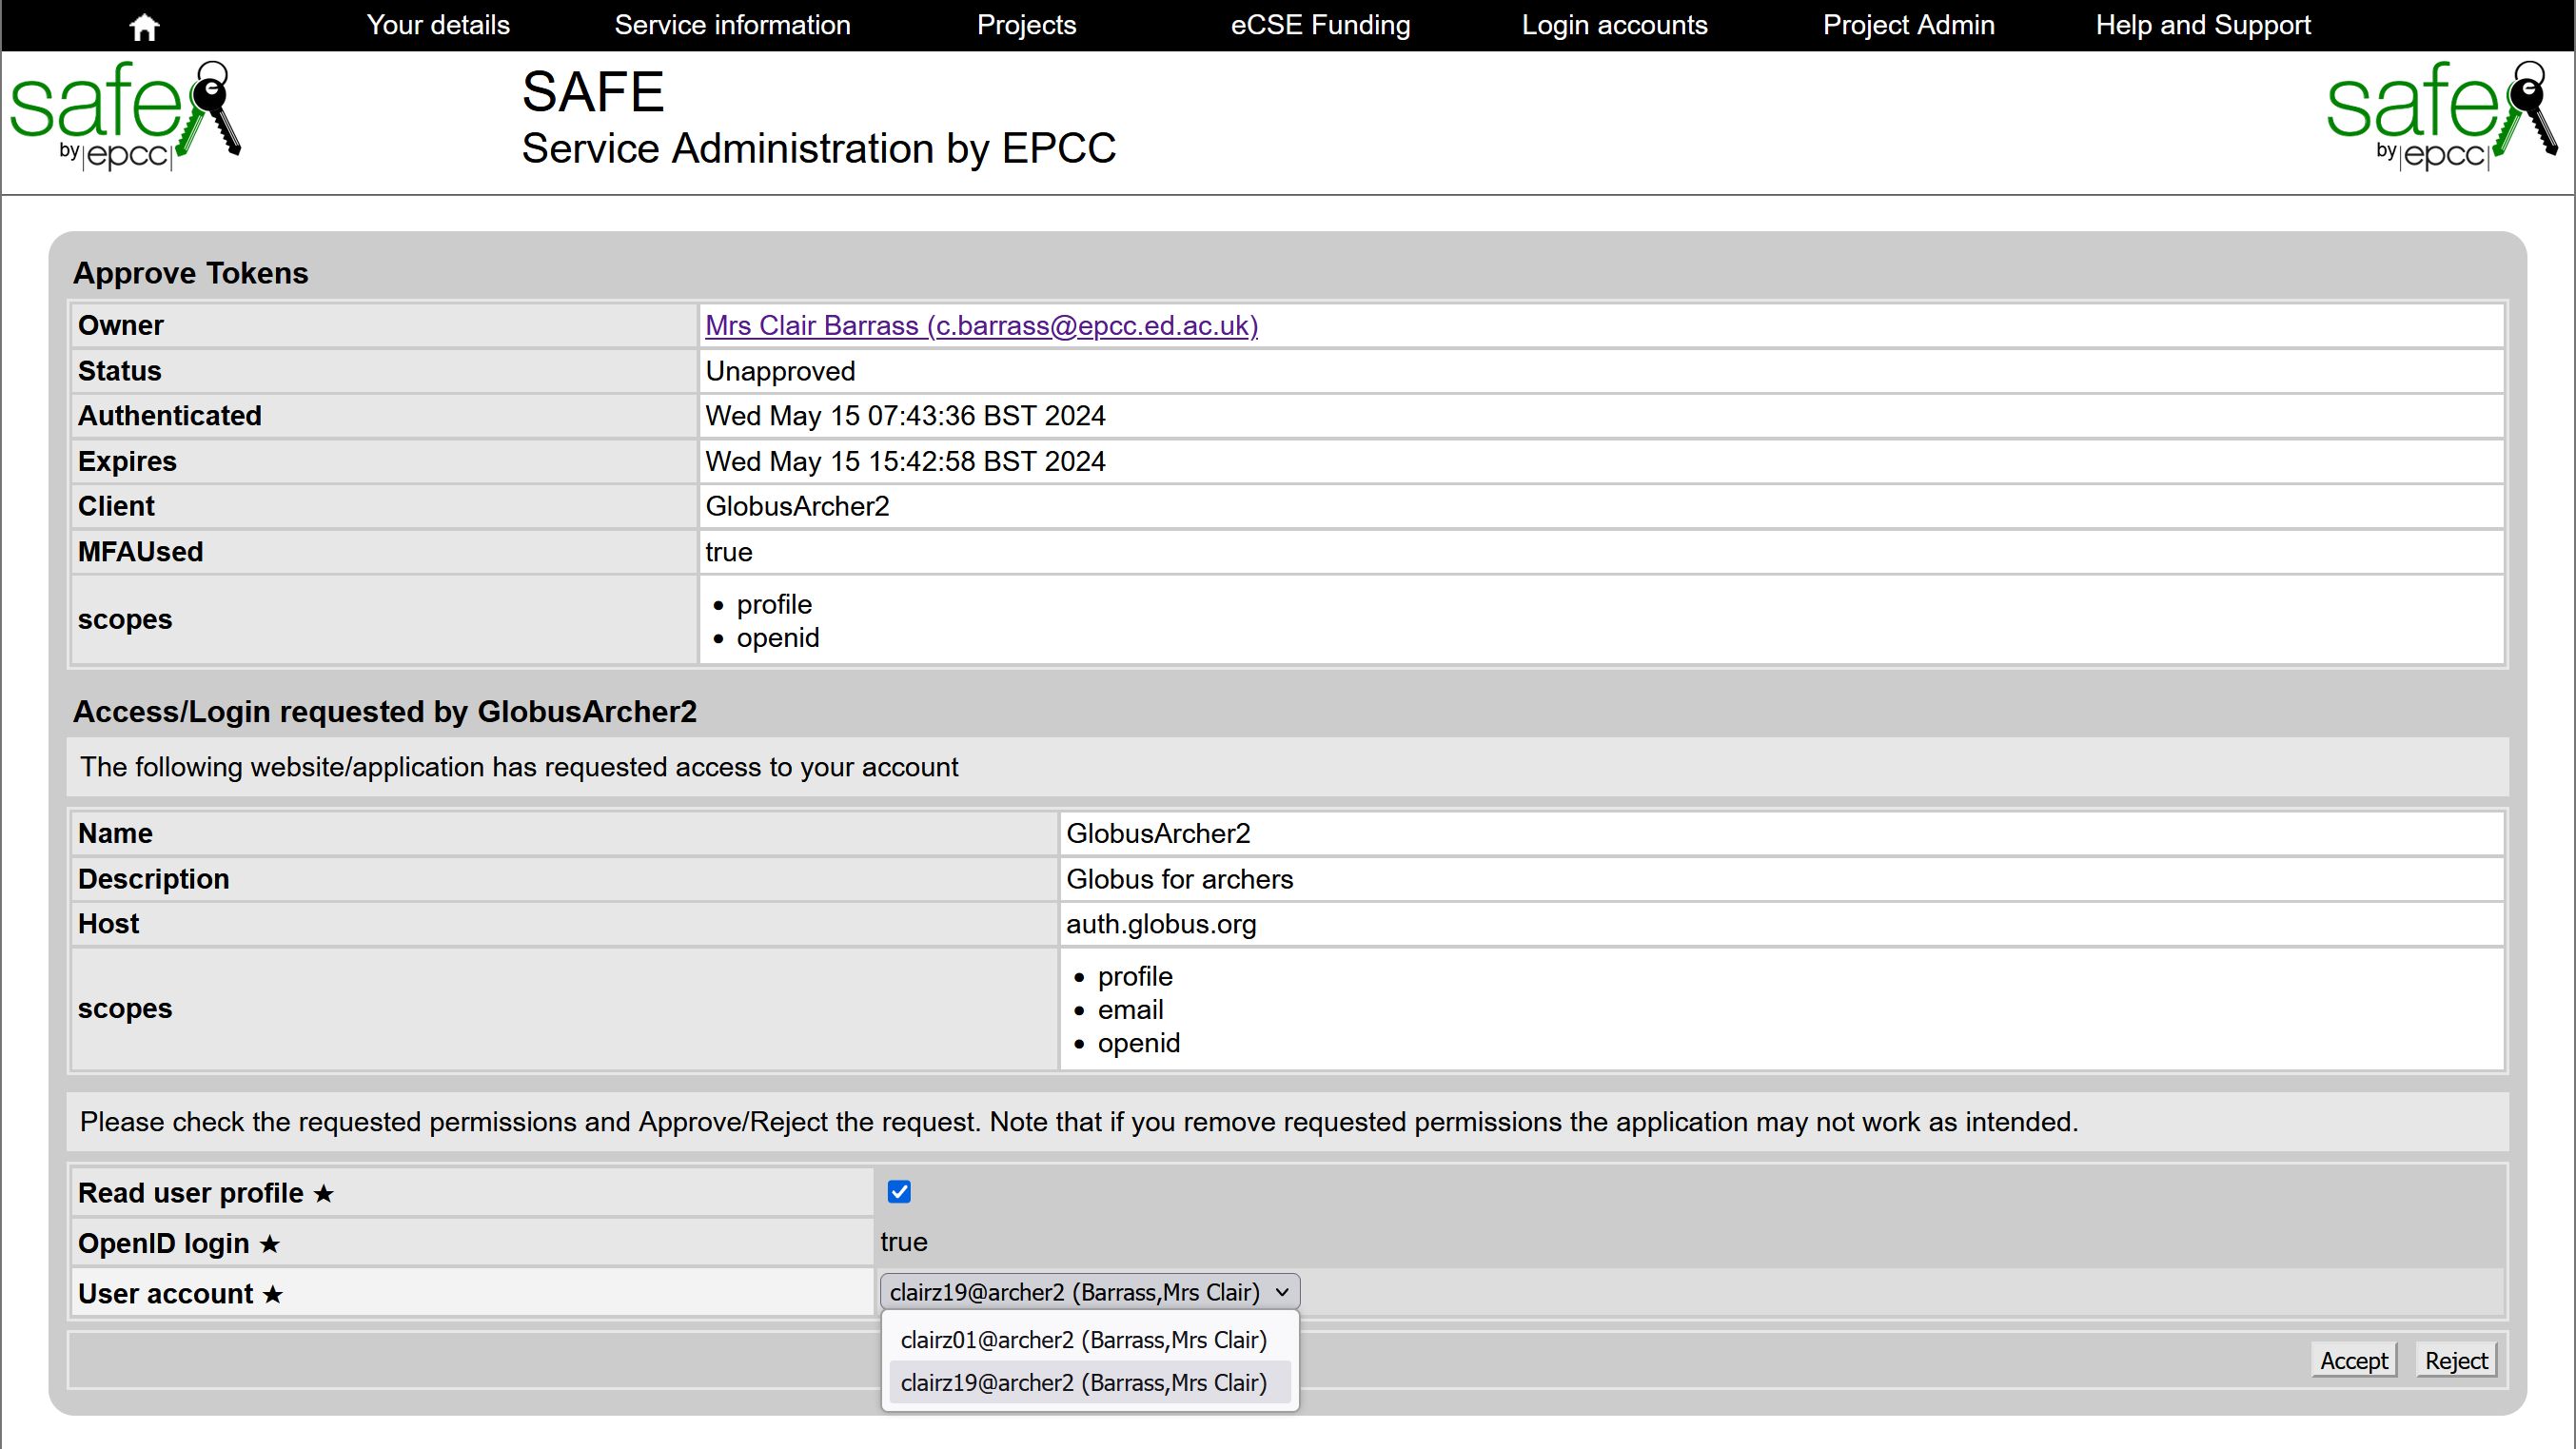
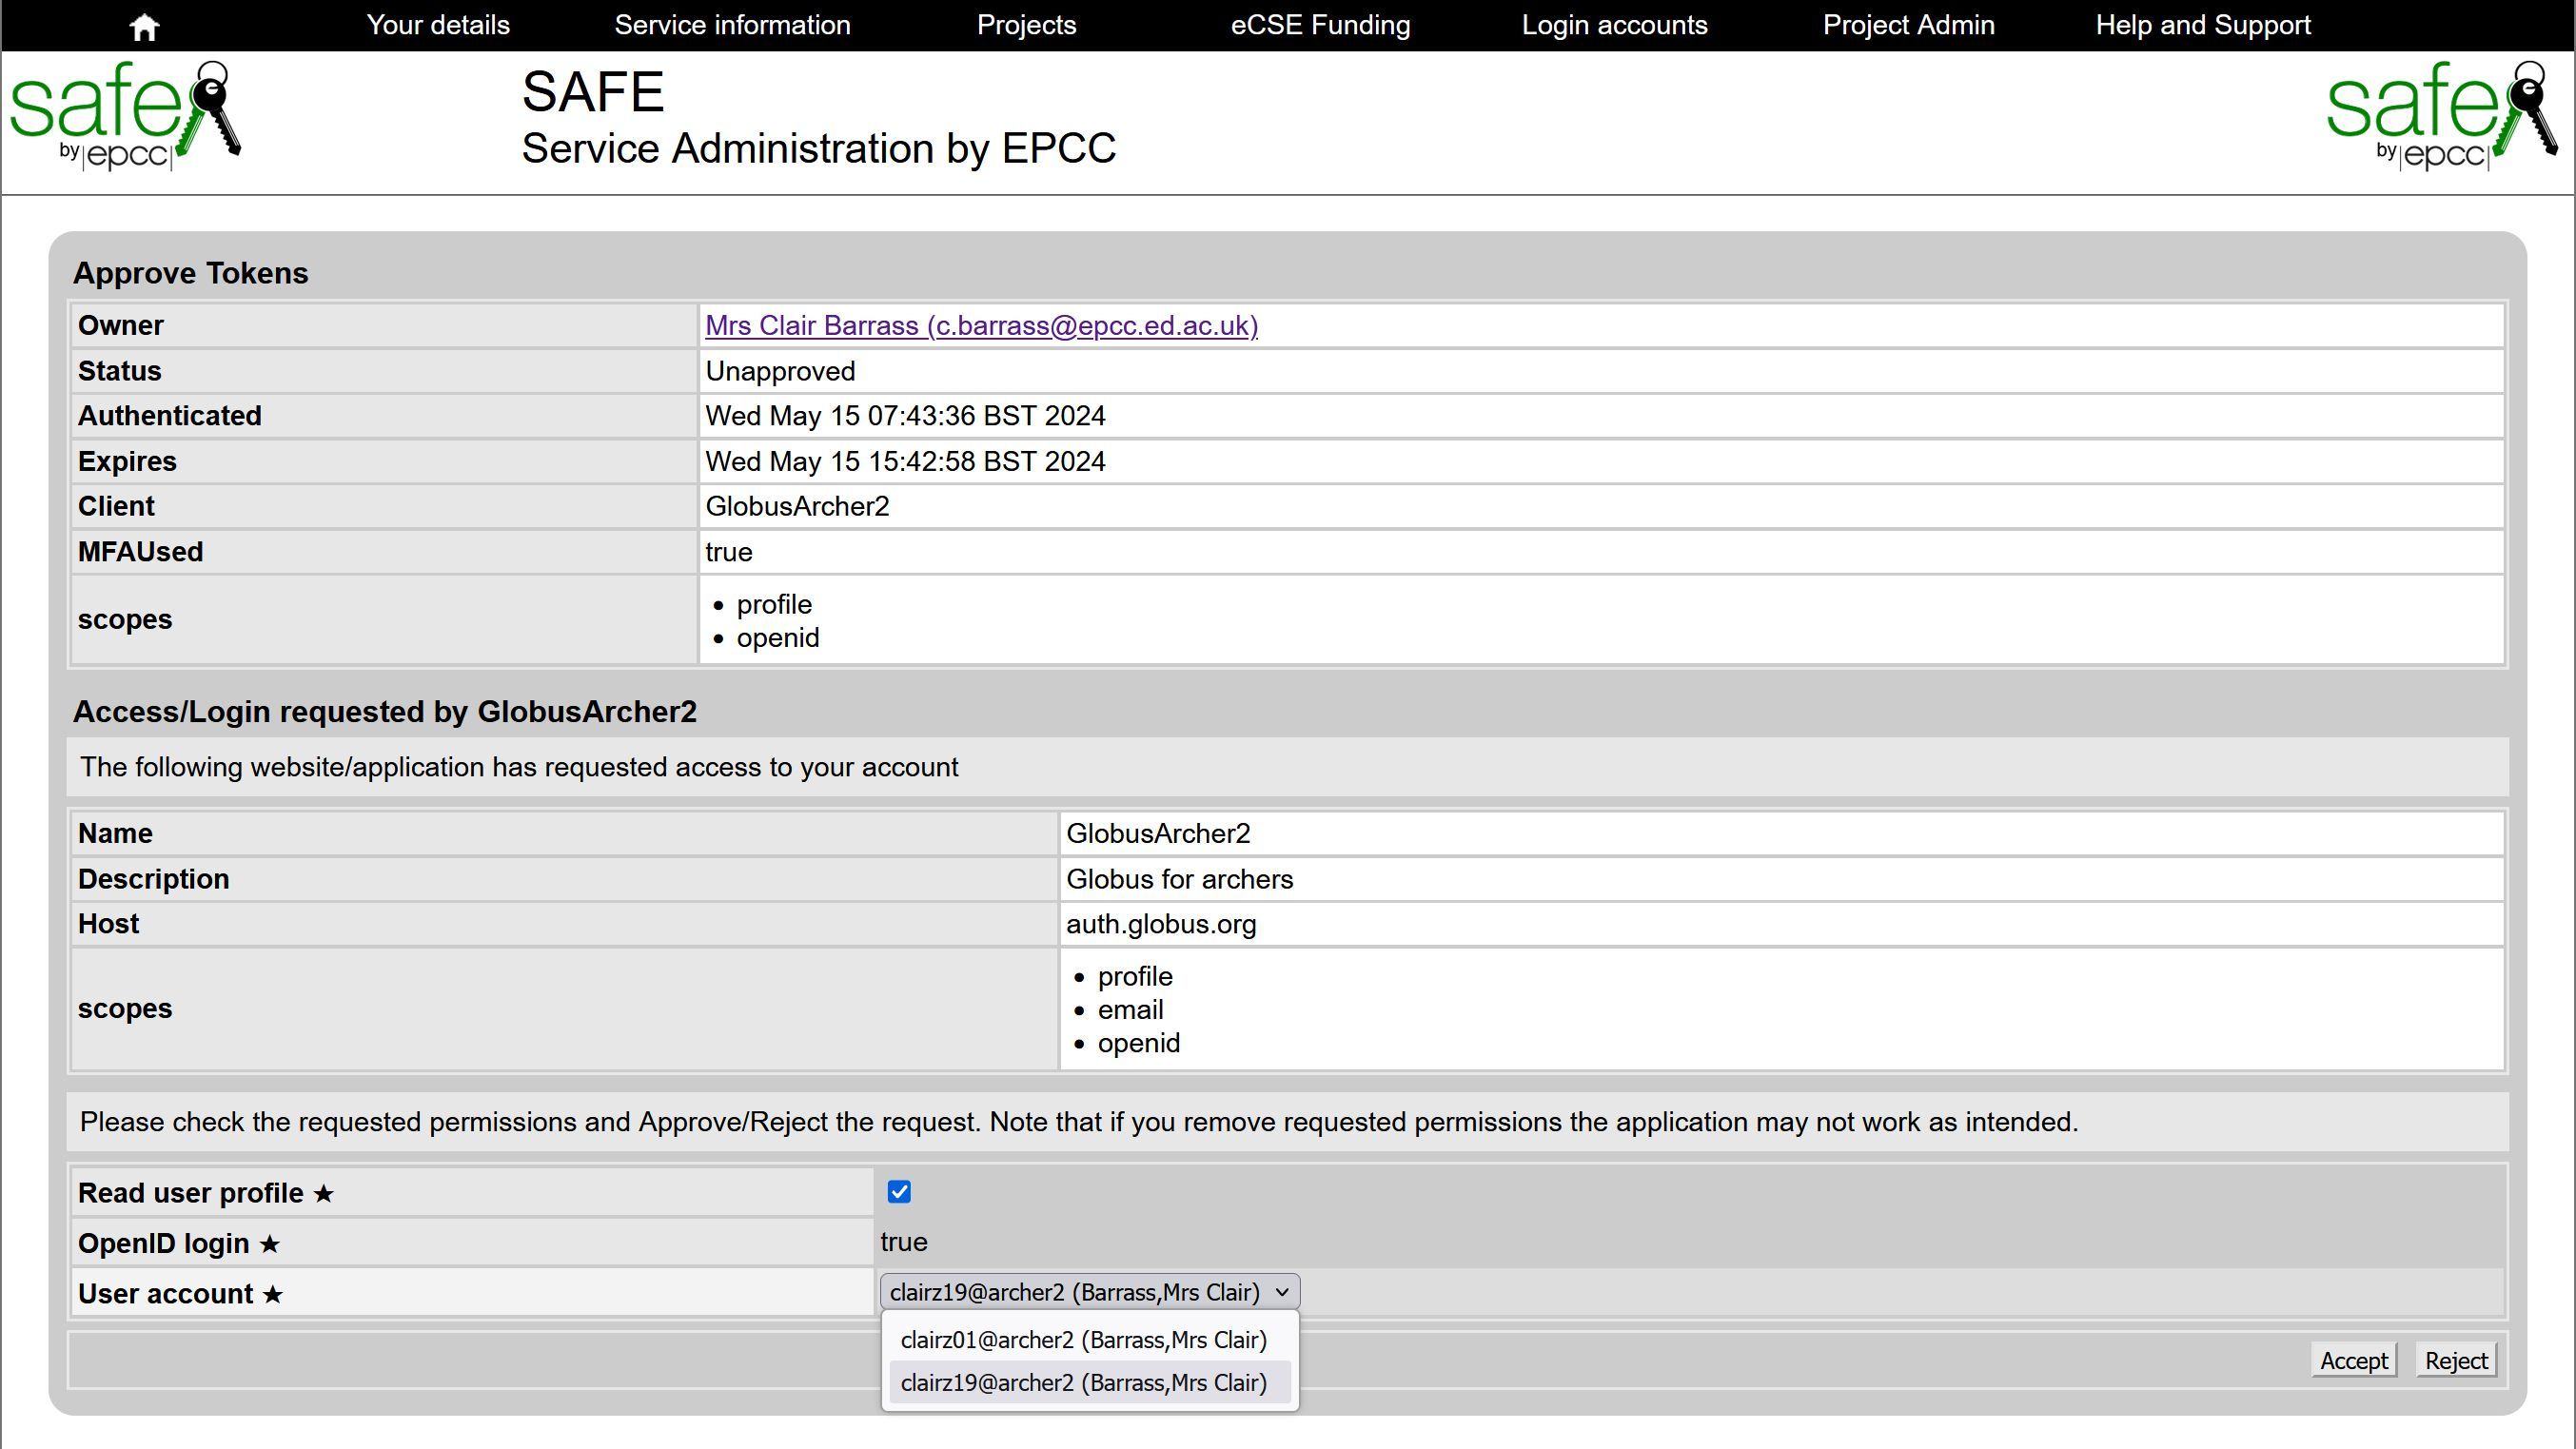
Select the correct User account (if you have more than one)
Click Accept
Now confirm your Globus credentials – click Continue

Click on the SAFE ID you selected previously
Make sure the correct User account is selected and Accept again
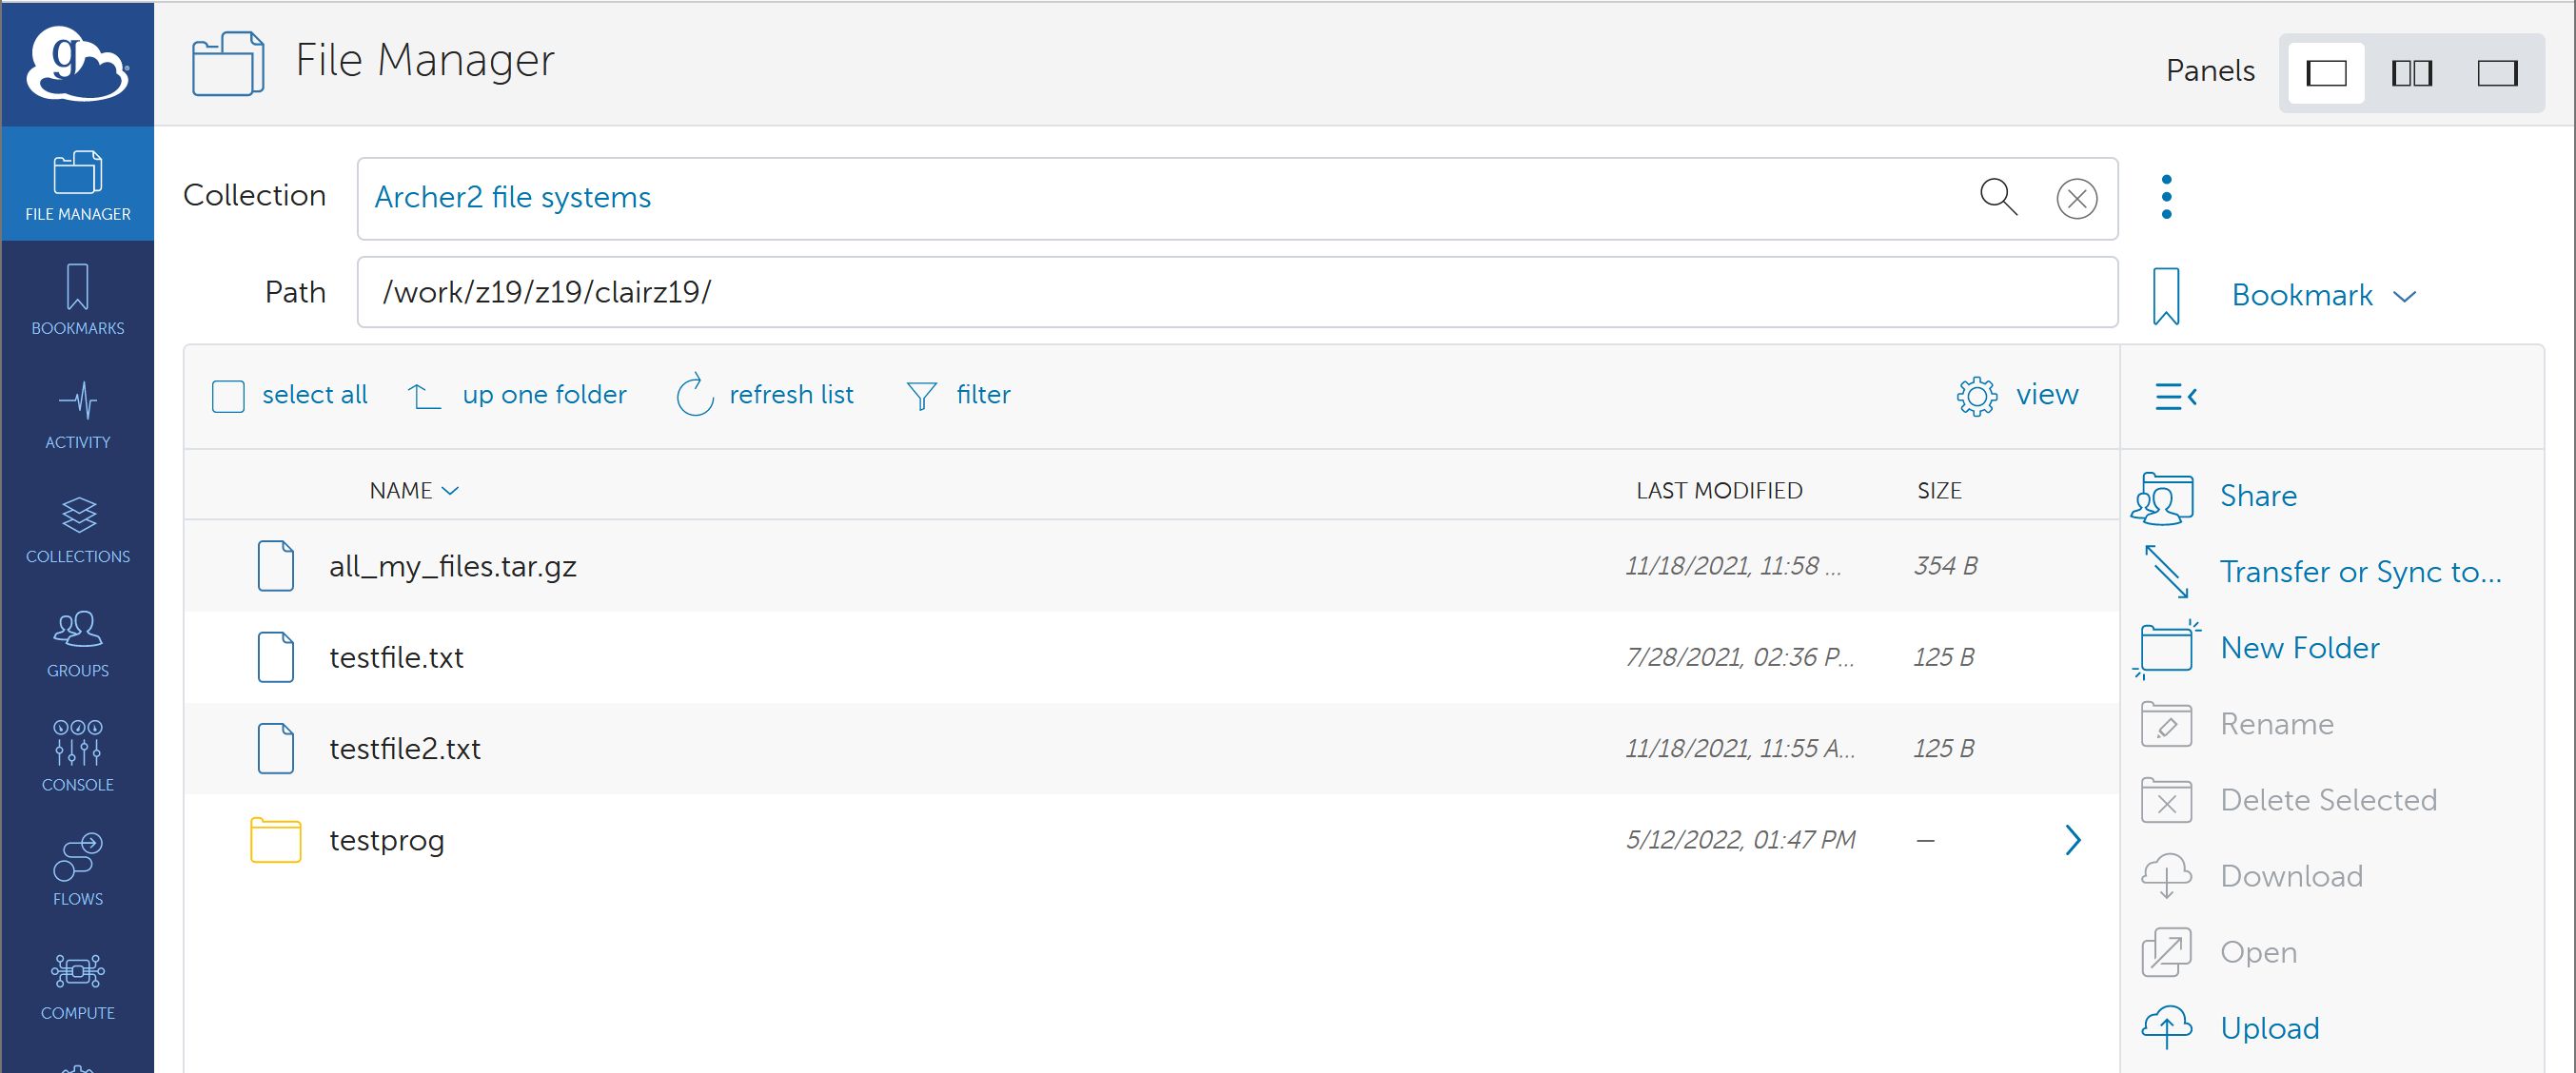
Your ARCHER2 /home directory will be shown
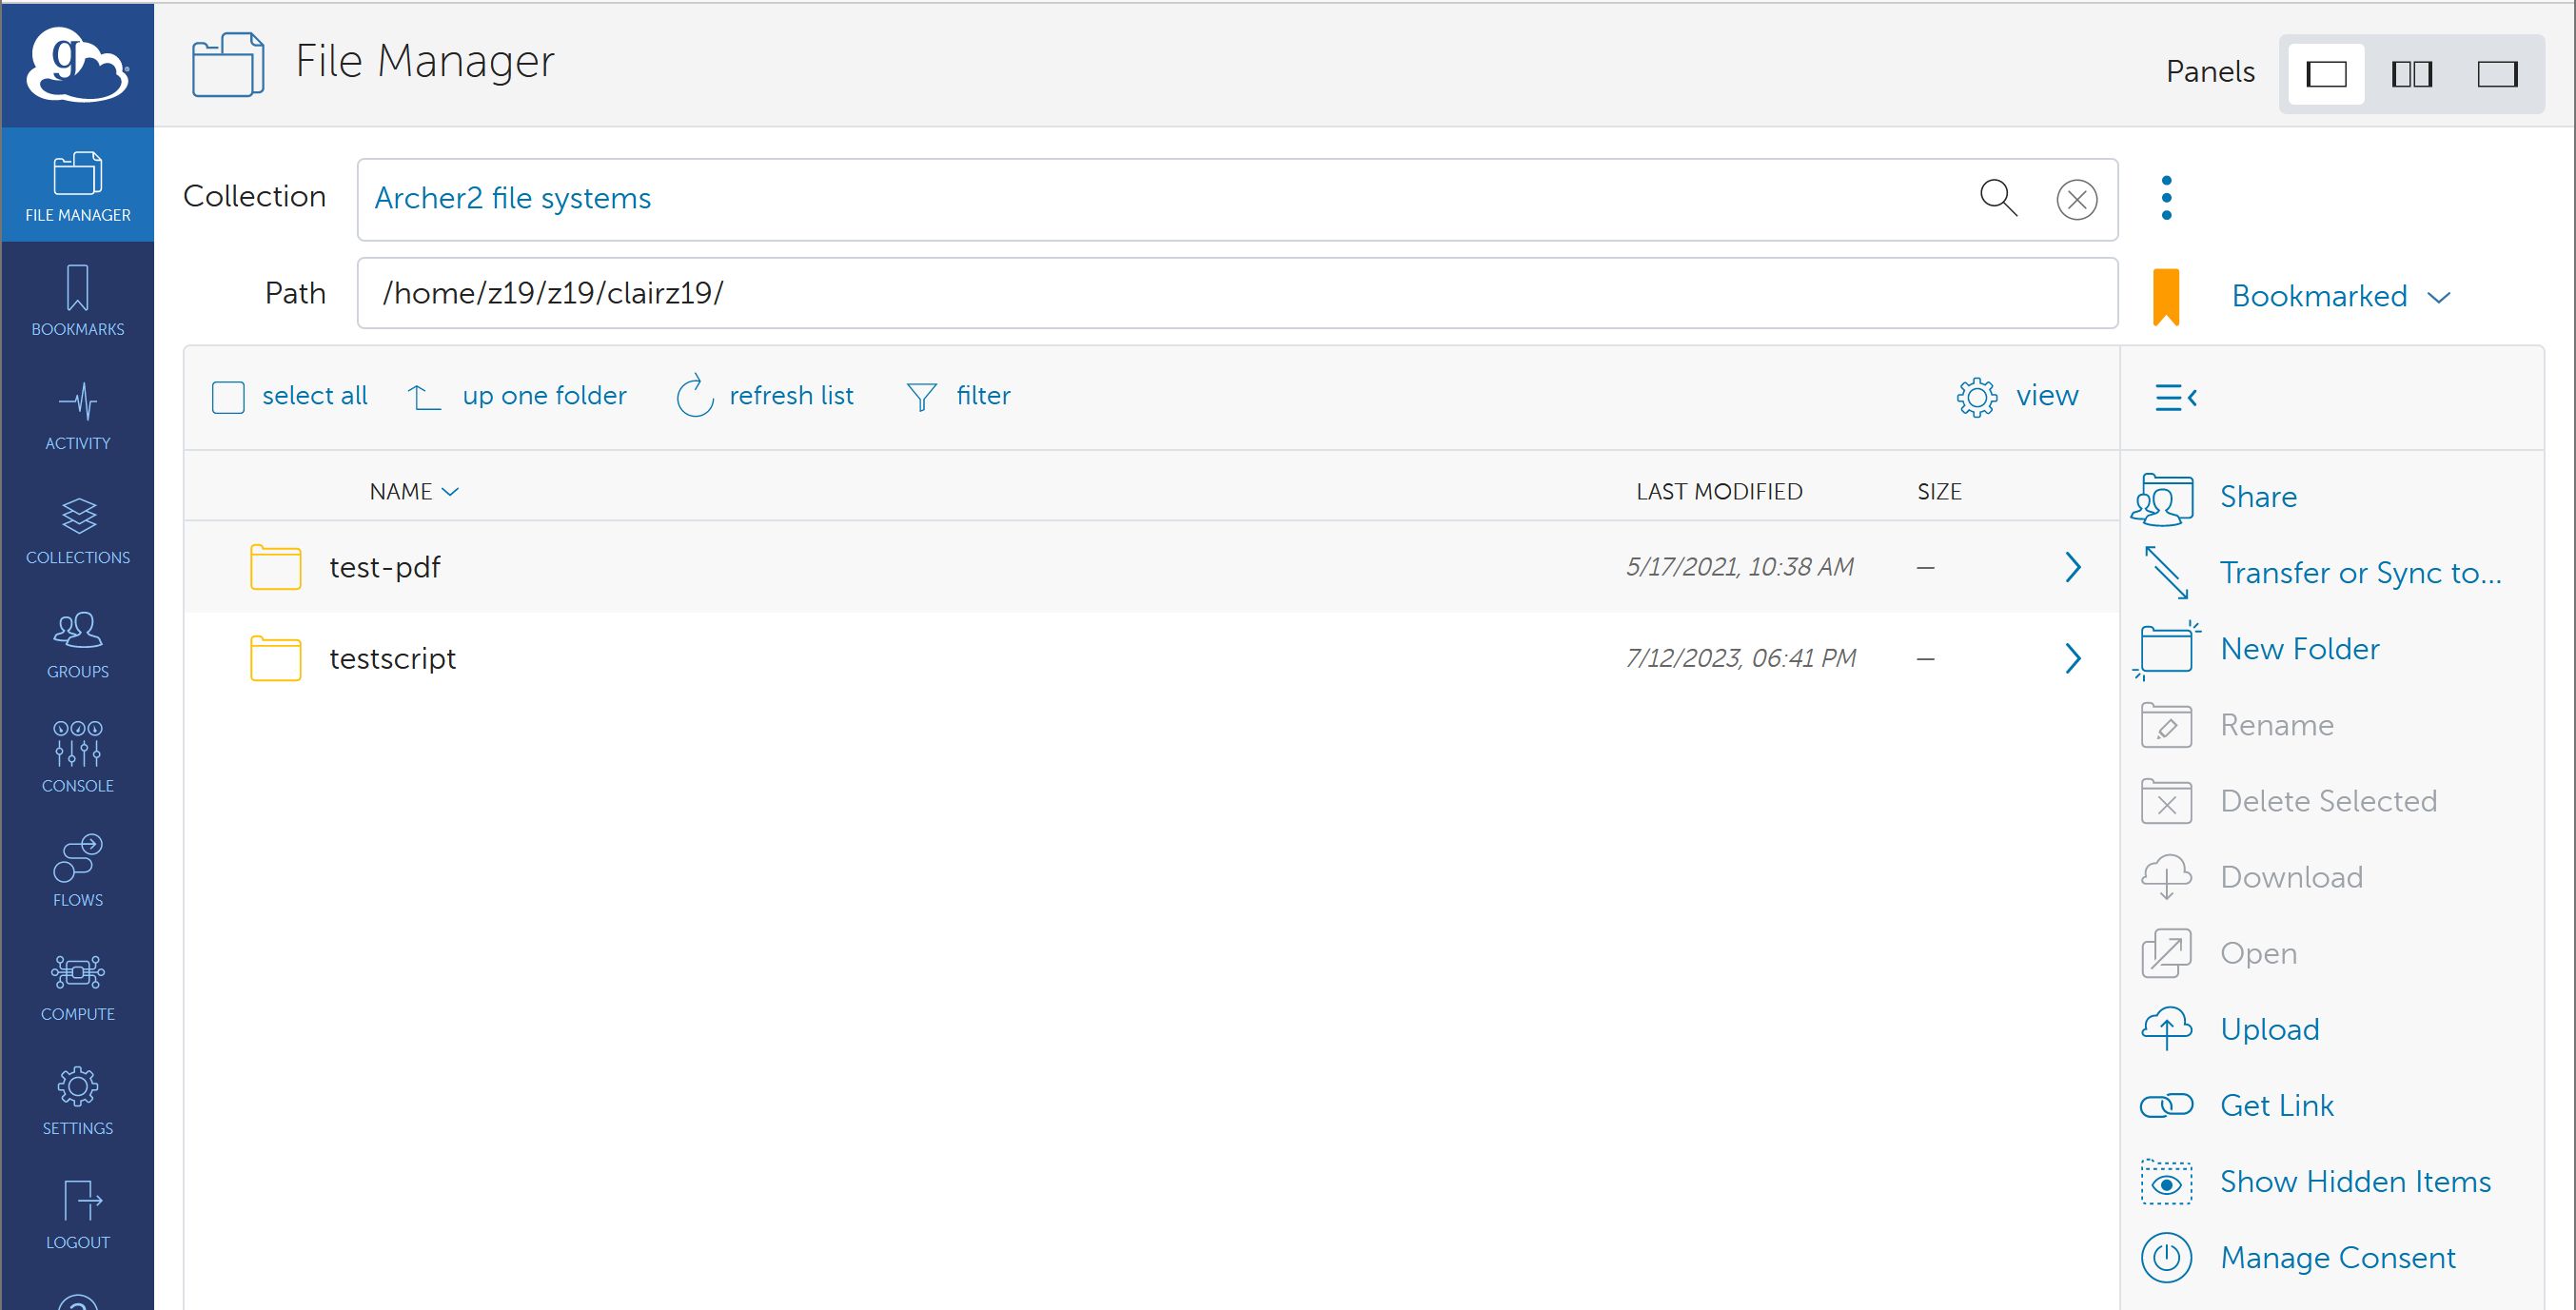
You can switch to viewing e.g. your /work directory by editing the path, or using the "up one folder" and selecting folders to move down the tree, as required
Setting up the other end of the transfer
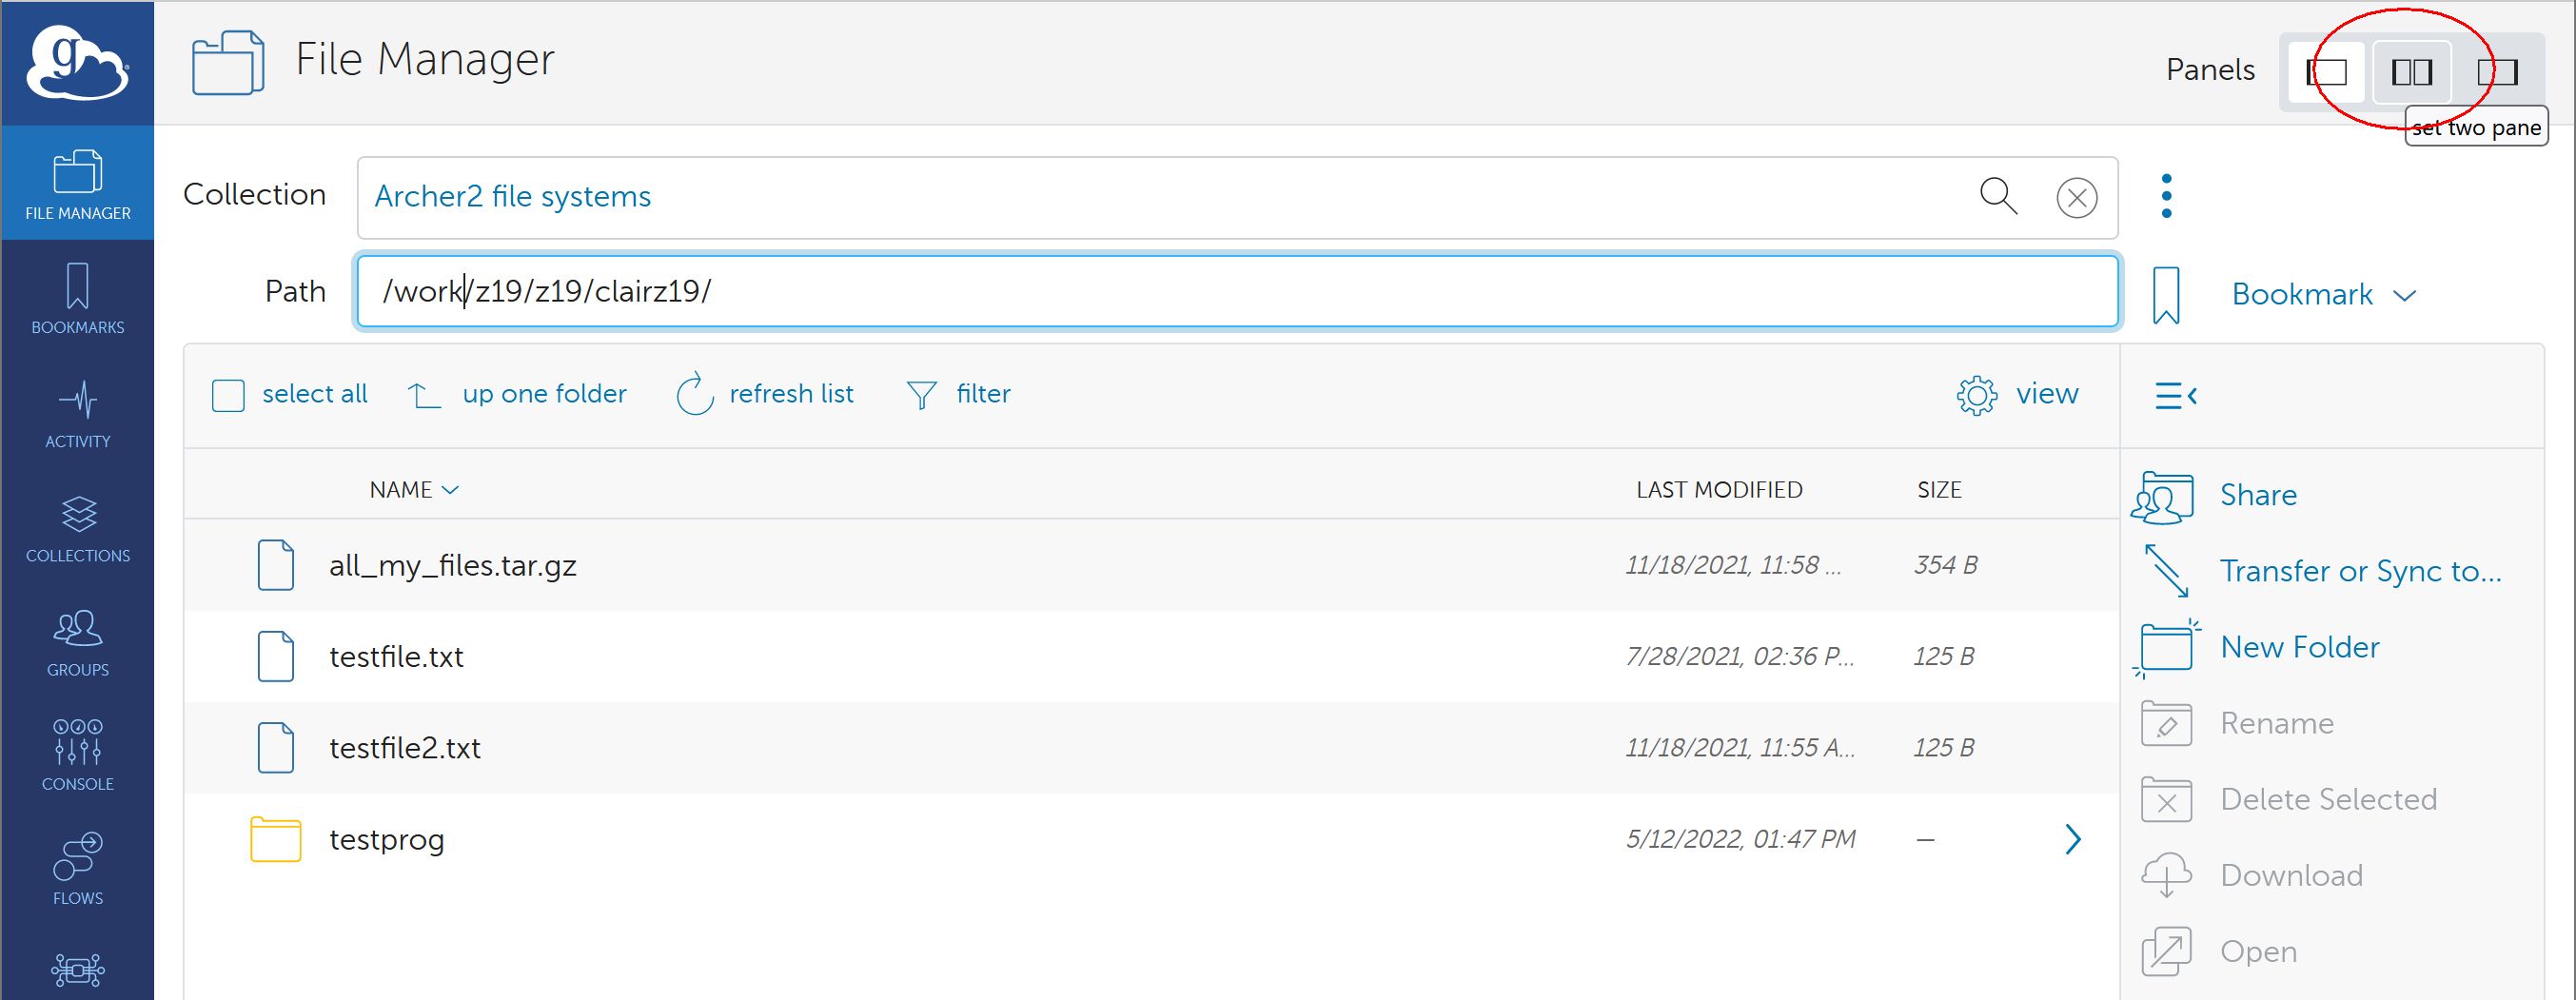
Make sure you select two-panel view mode
Laptop
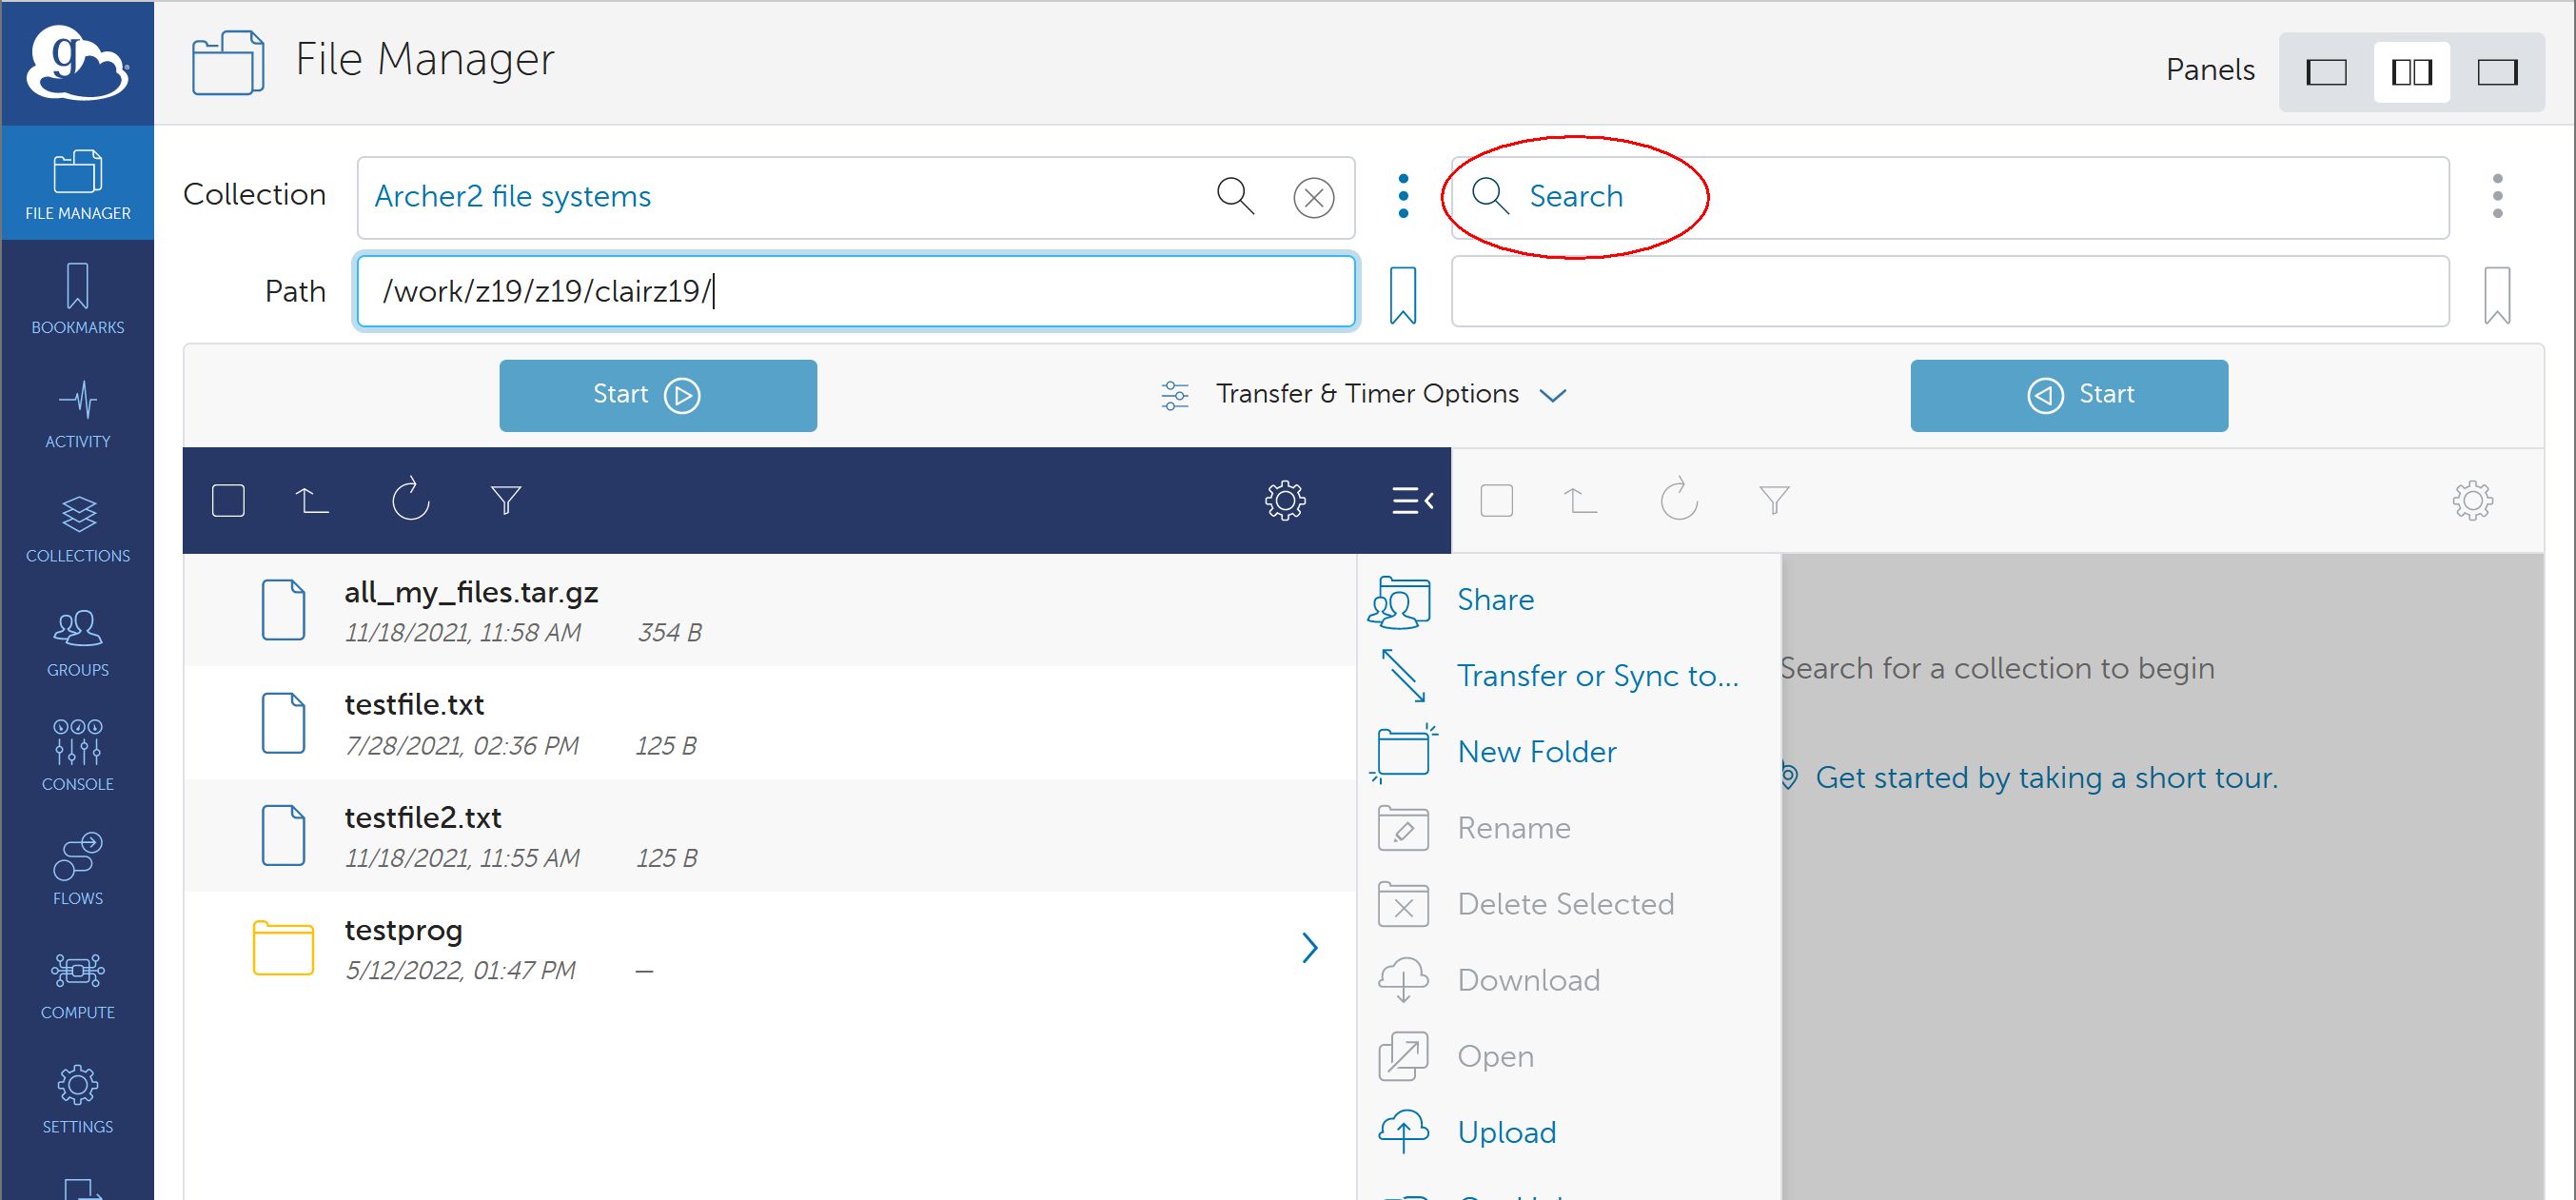
If you wish to transfer data to/from your personal laptop or other device, click on the Collection Search in the right-hand panel
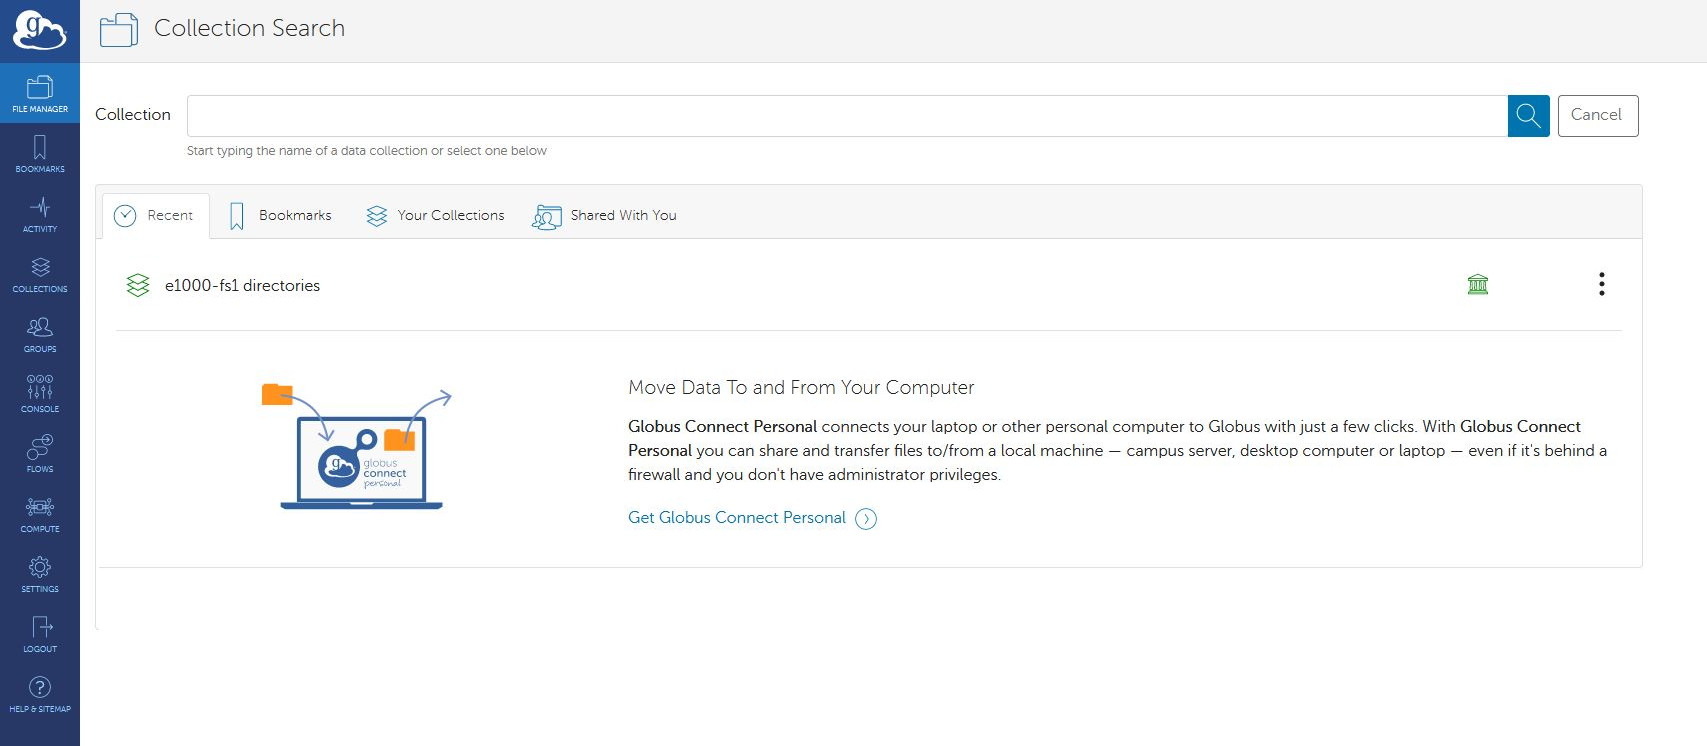
Use the link to “Get Globus Connect Personal” to create a Collection for your local drive.
Other server e.g. JASMIN
If you wish to connect to another server, you will need to search for the Collection e.g. JASMIN Default Collection and authenticate
Please see the JASMIN Globus page for more information
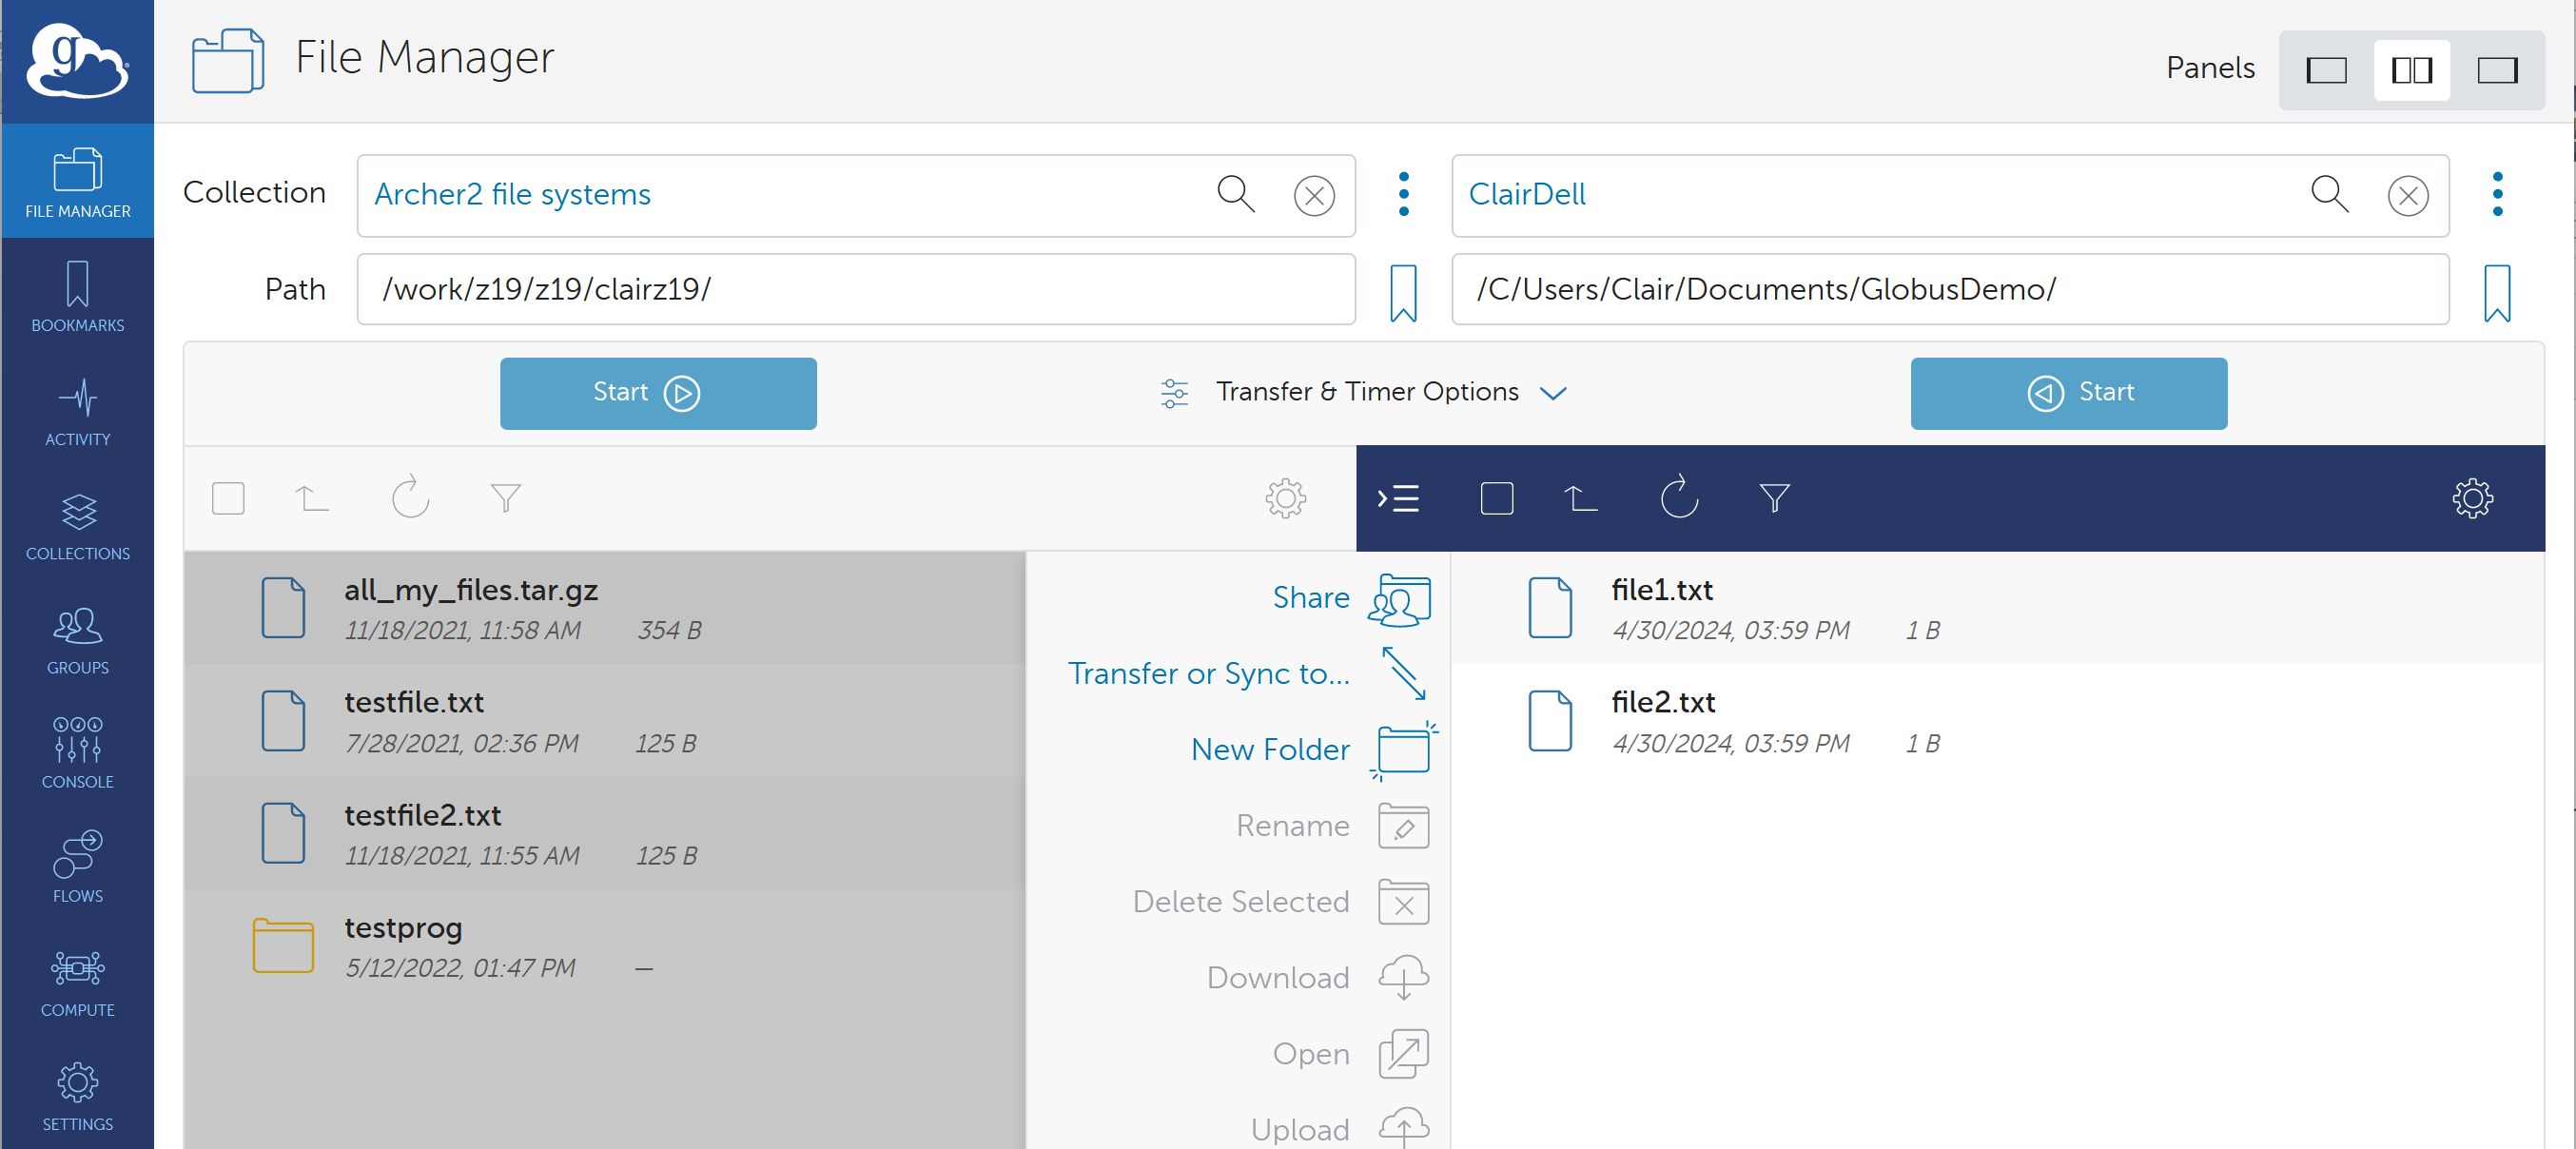
Setting up and initiating the transfer
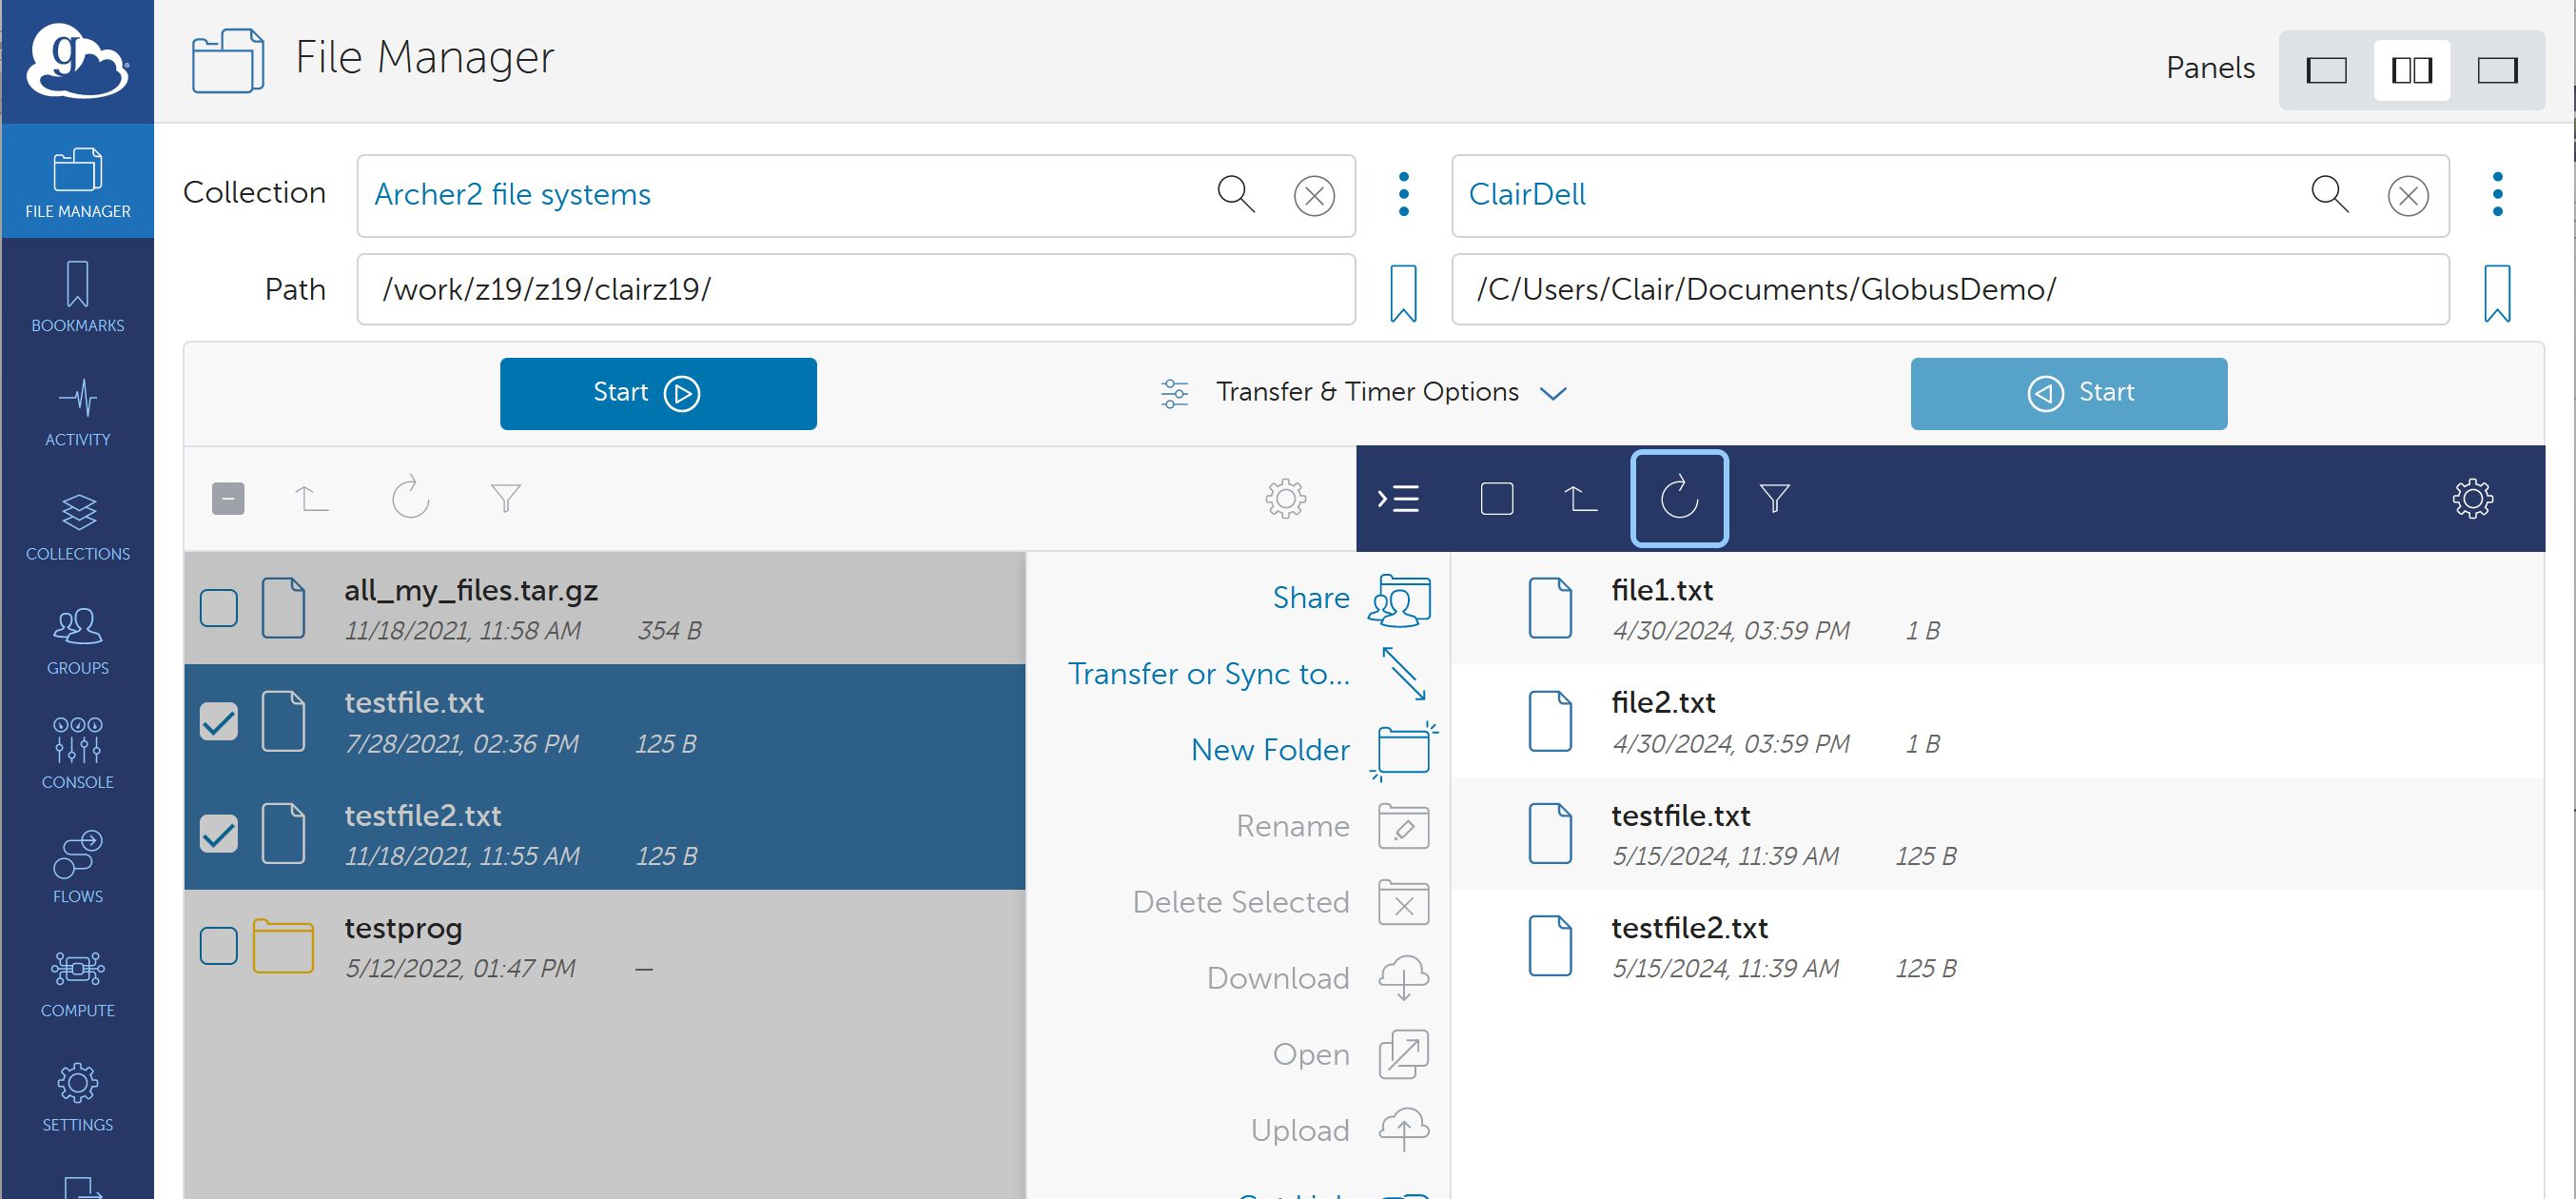
Once you are connected to both the Source and Destination Collections, you can use the File Manager to select the files to be transferred, and then click the Start button to initiate the transfer
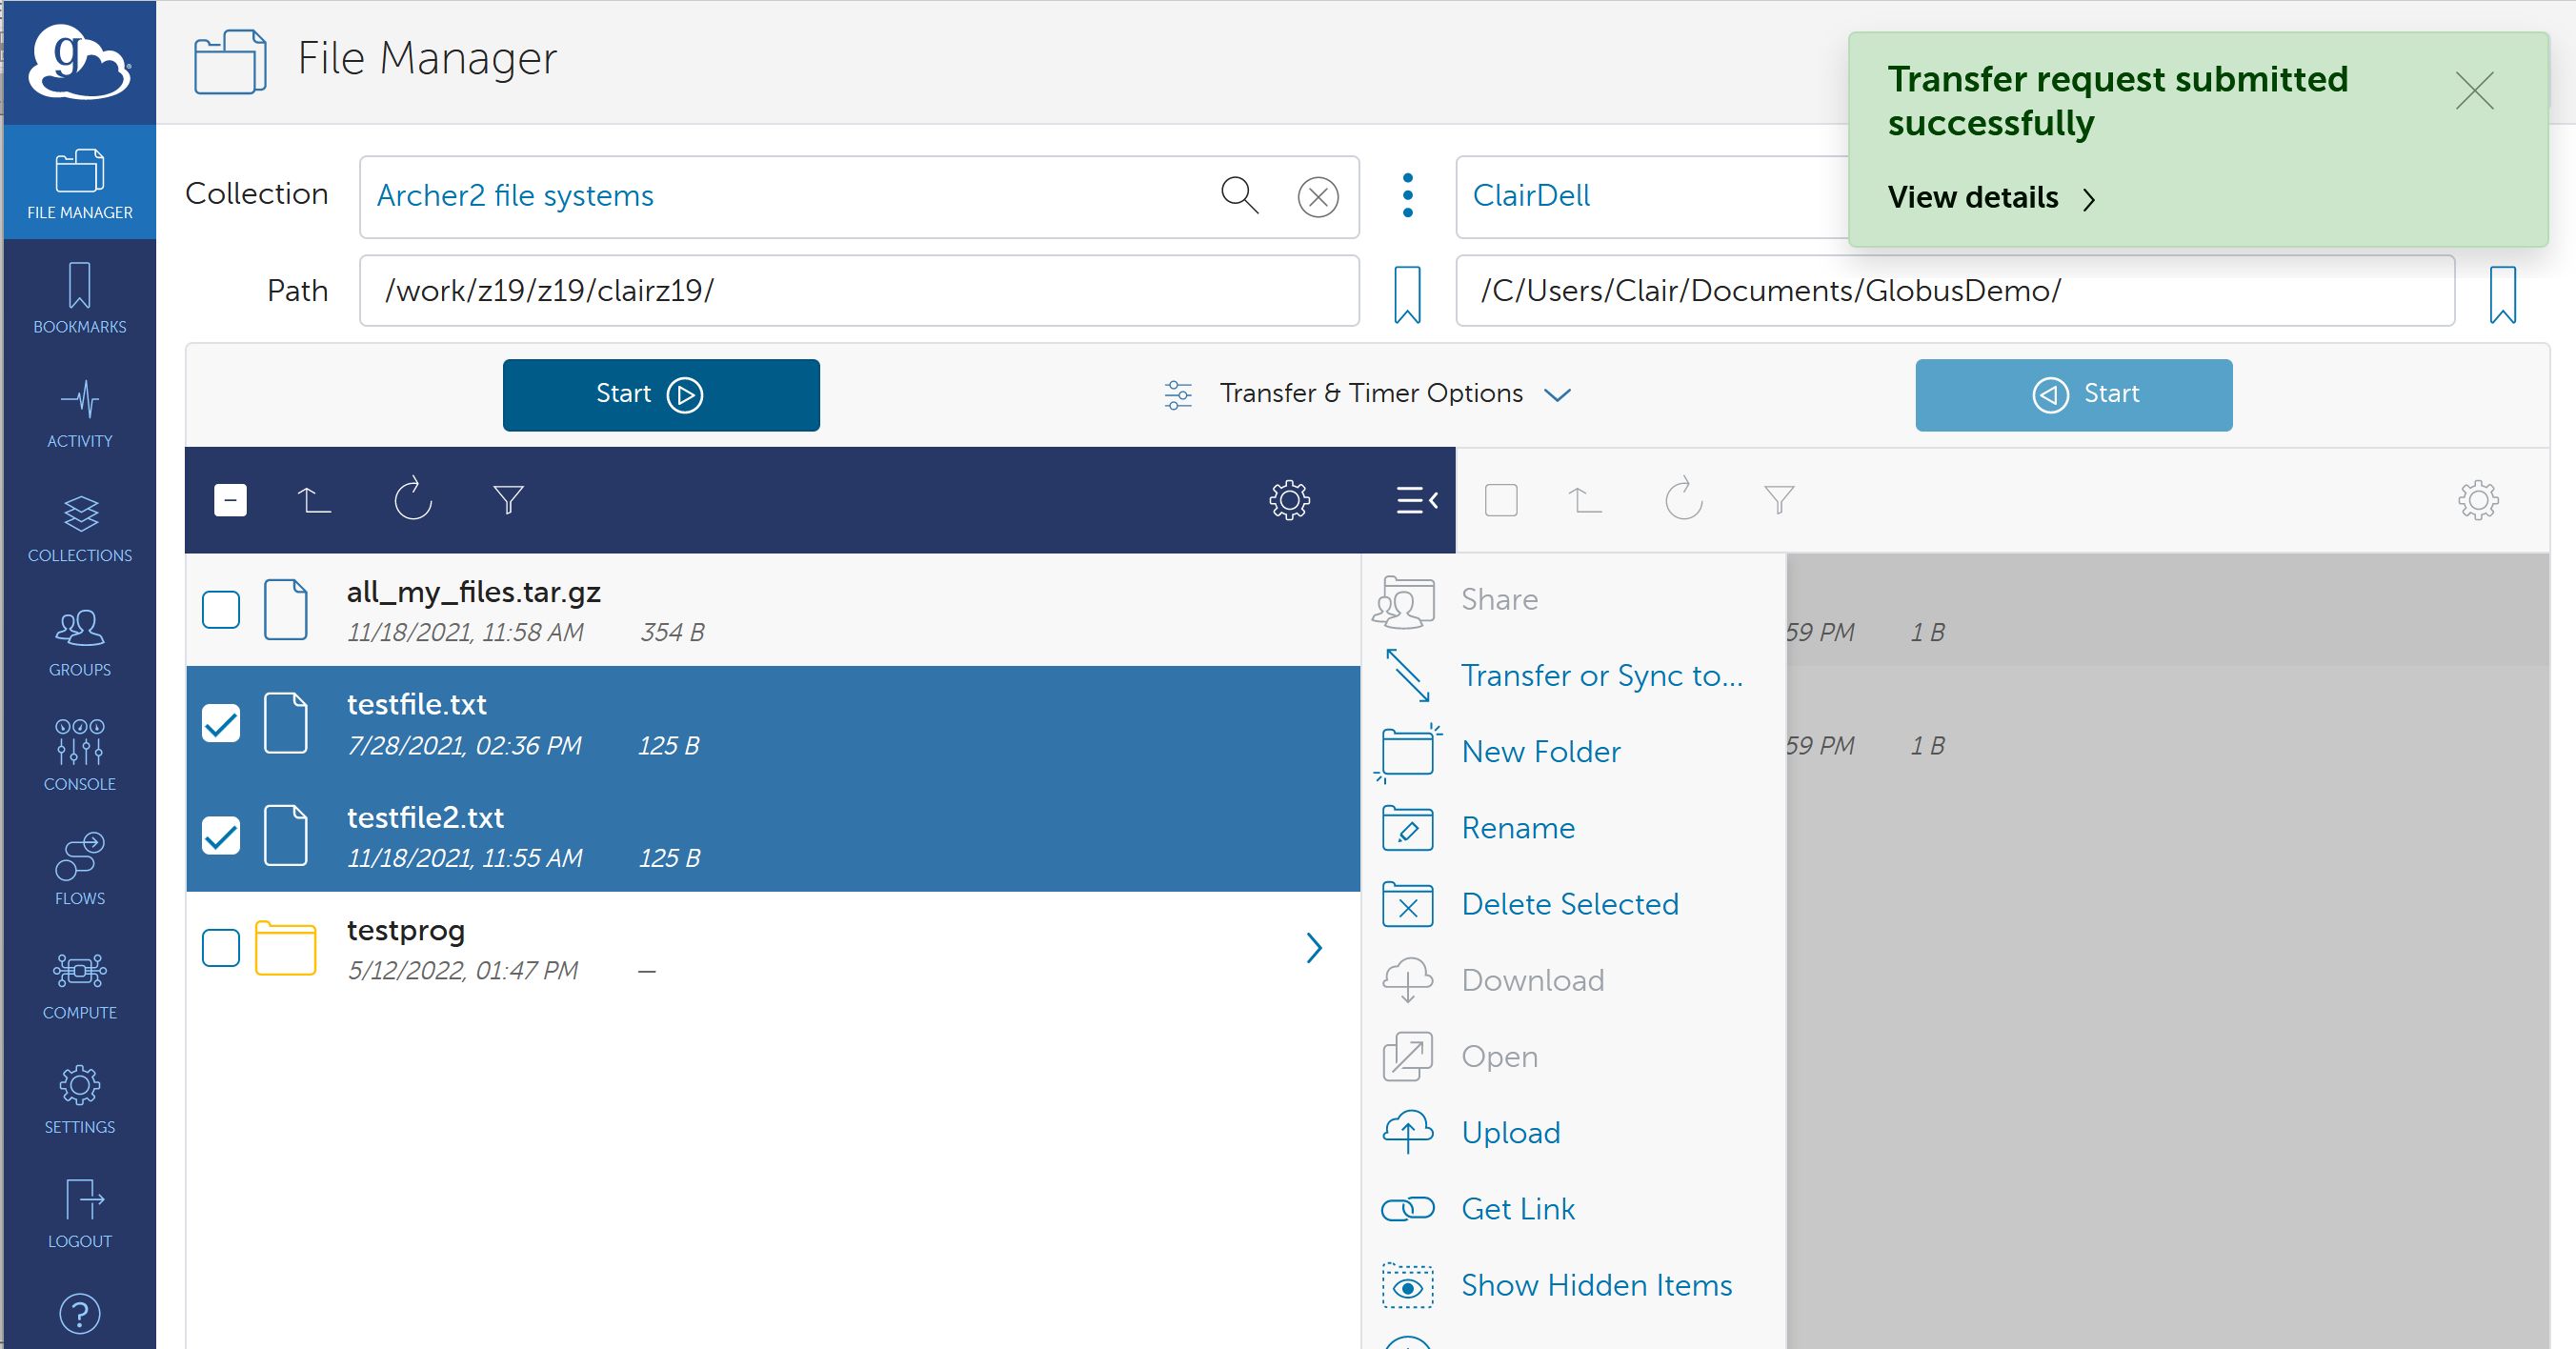
A pop-up will appear once the Transfer request has been submitted successfully
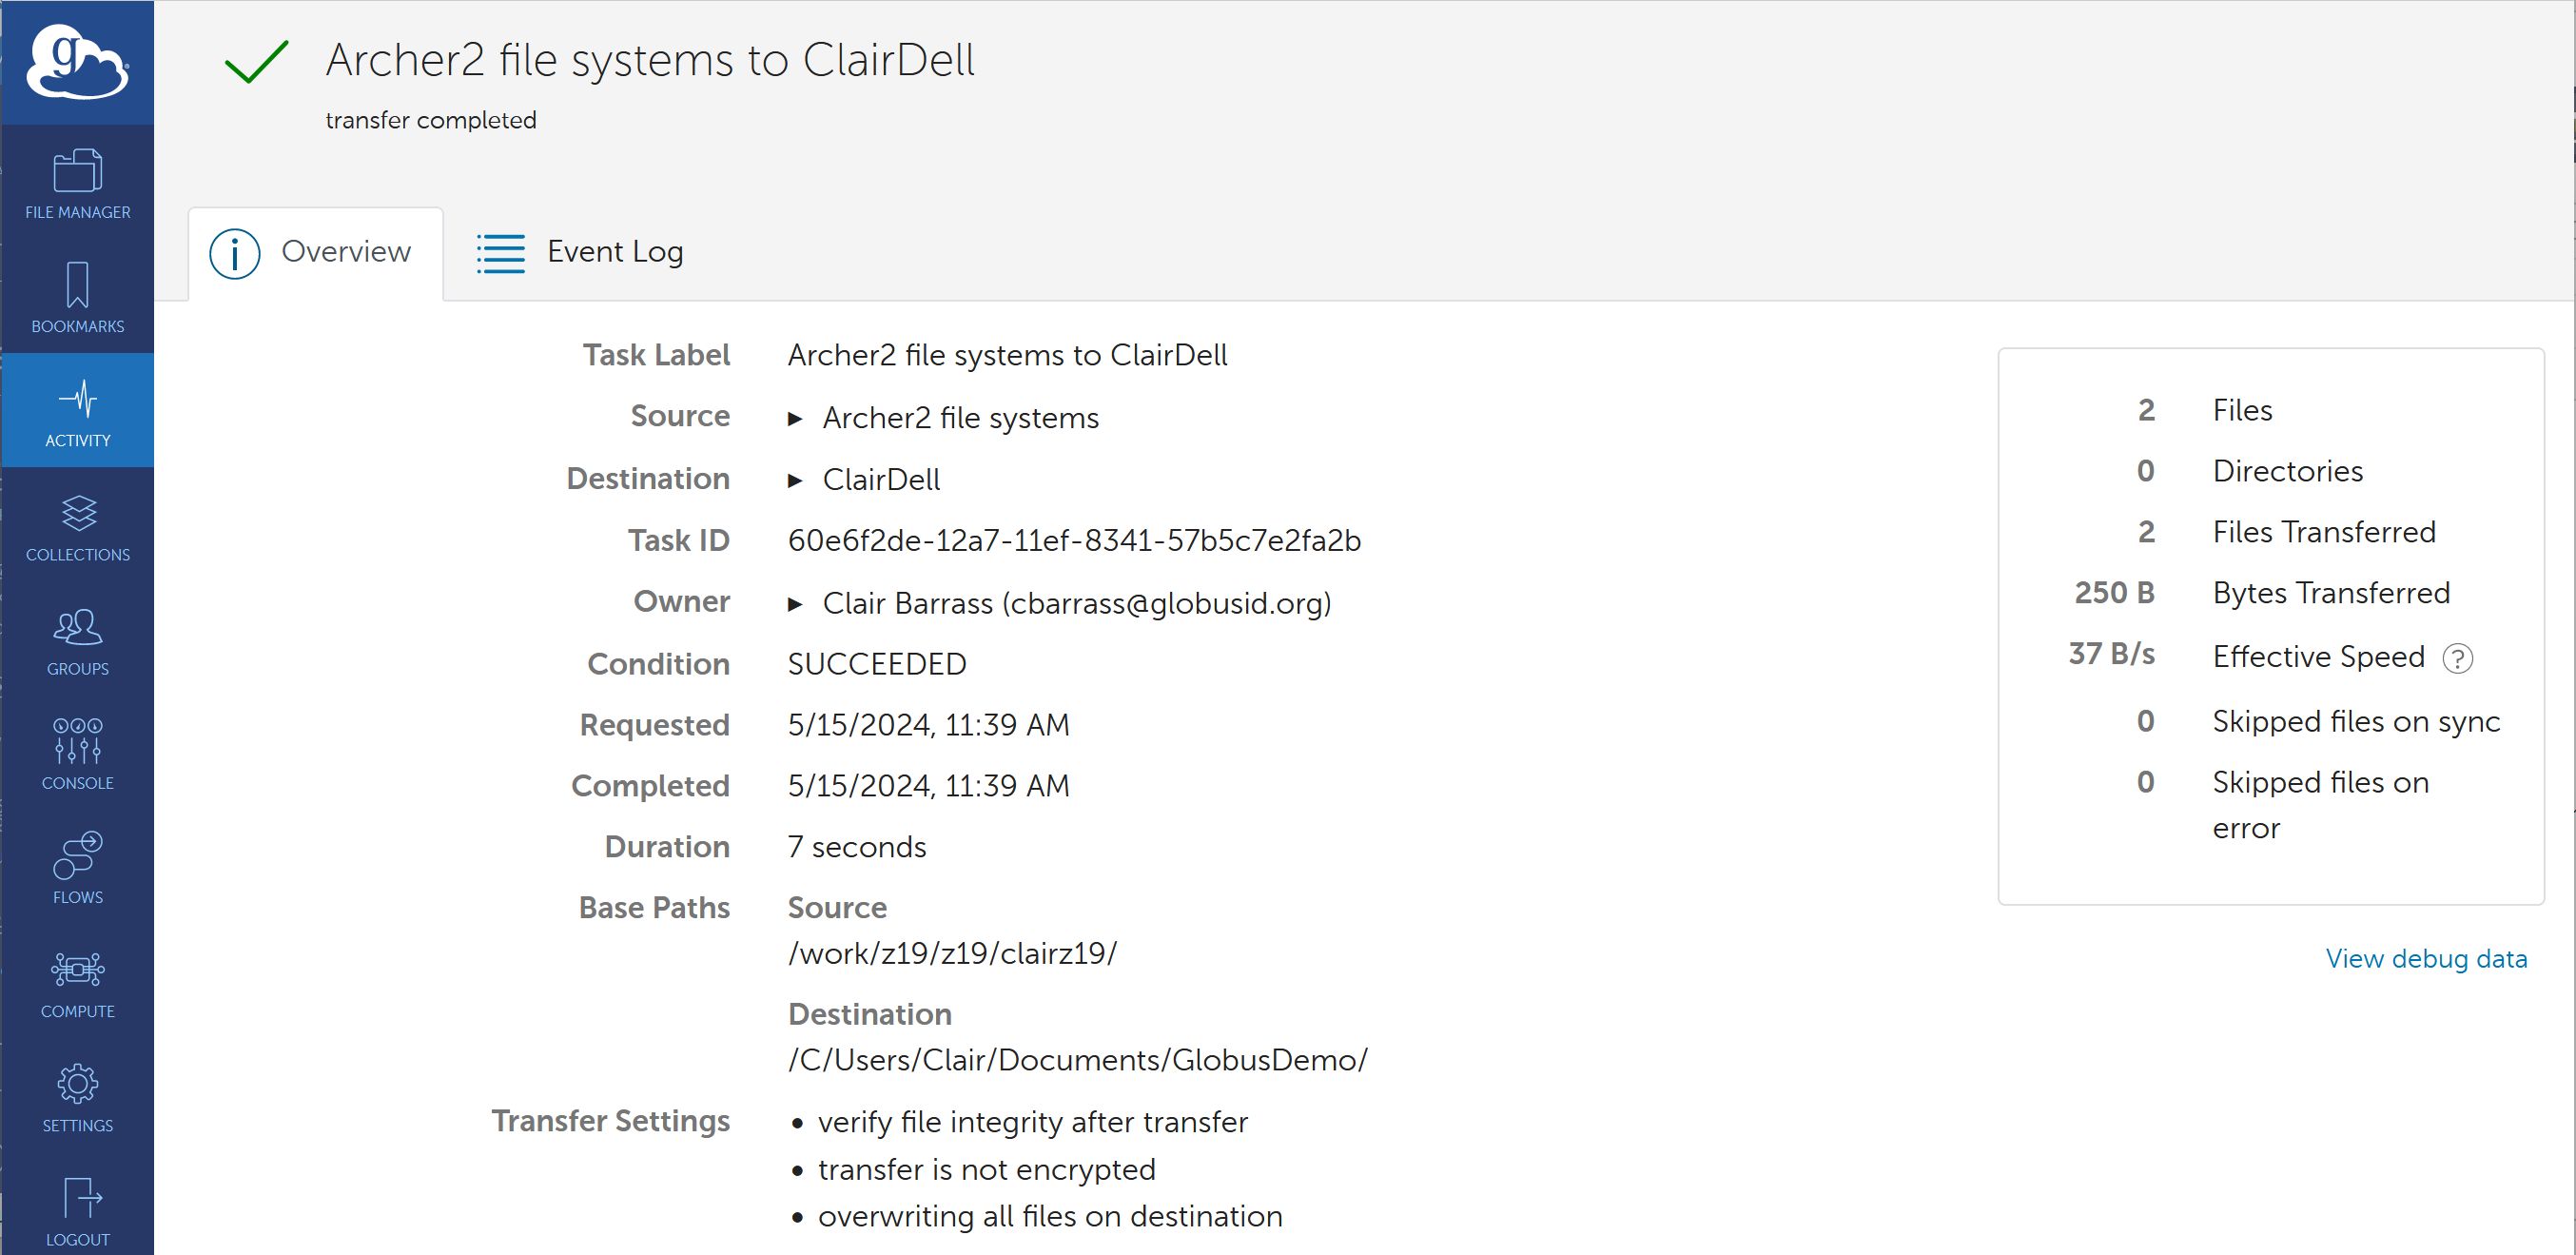
Clicking on the “View Details” will show the progress and final status of the transfer
Using a different ARCHER2 account
If you want to use Globus with a different account on ARCHER2, you will have to go to Settings
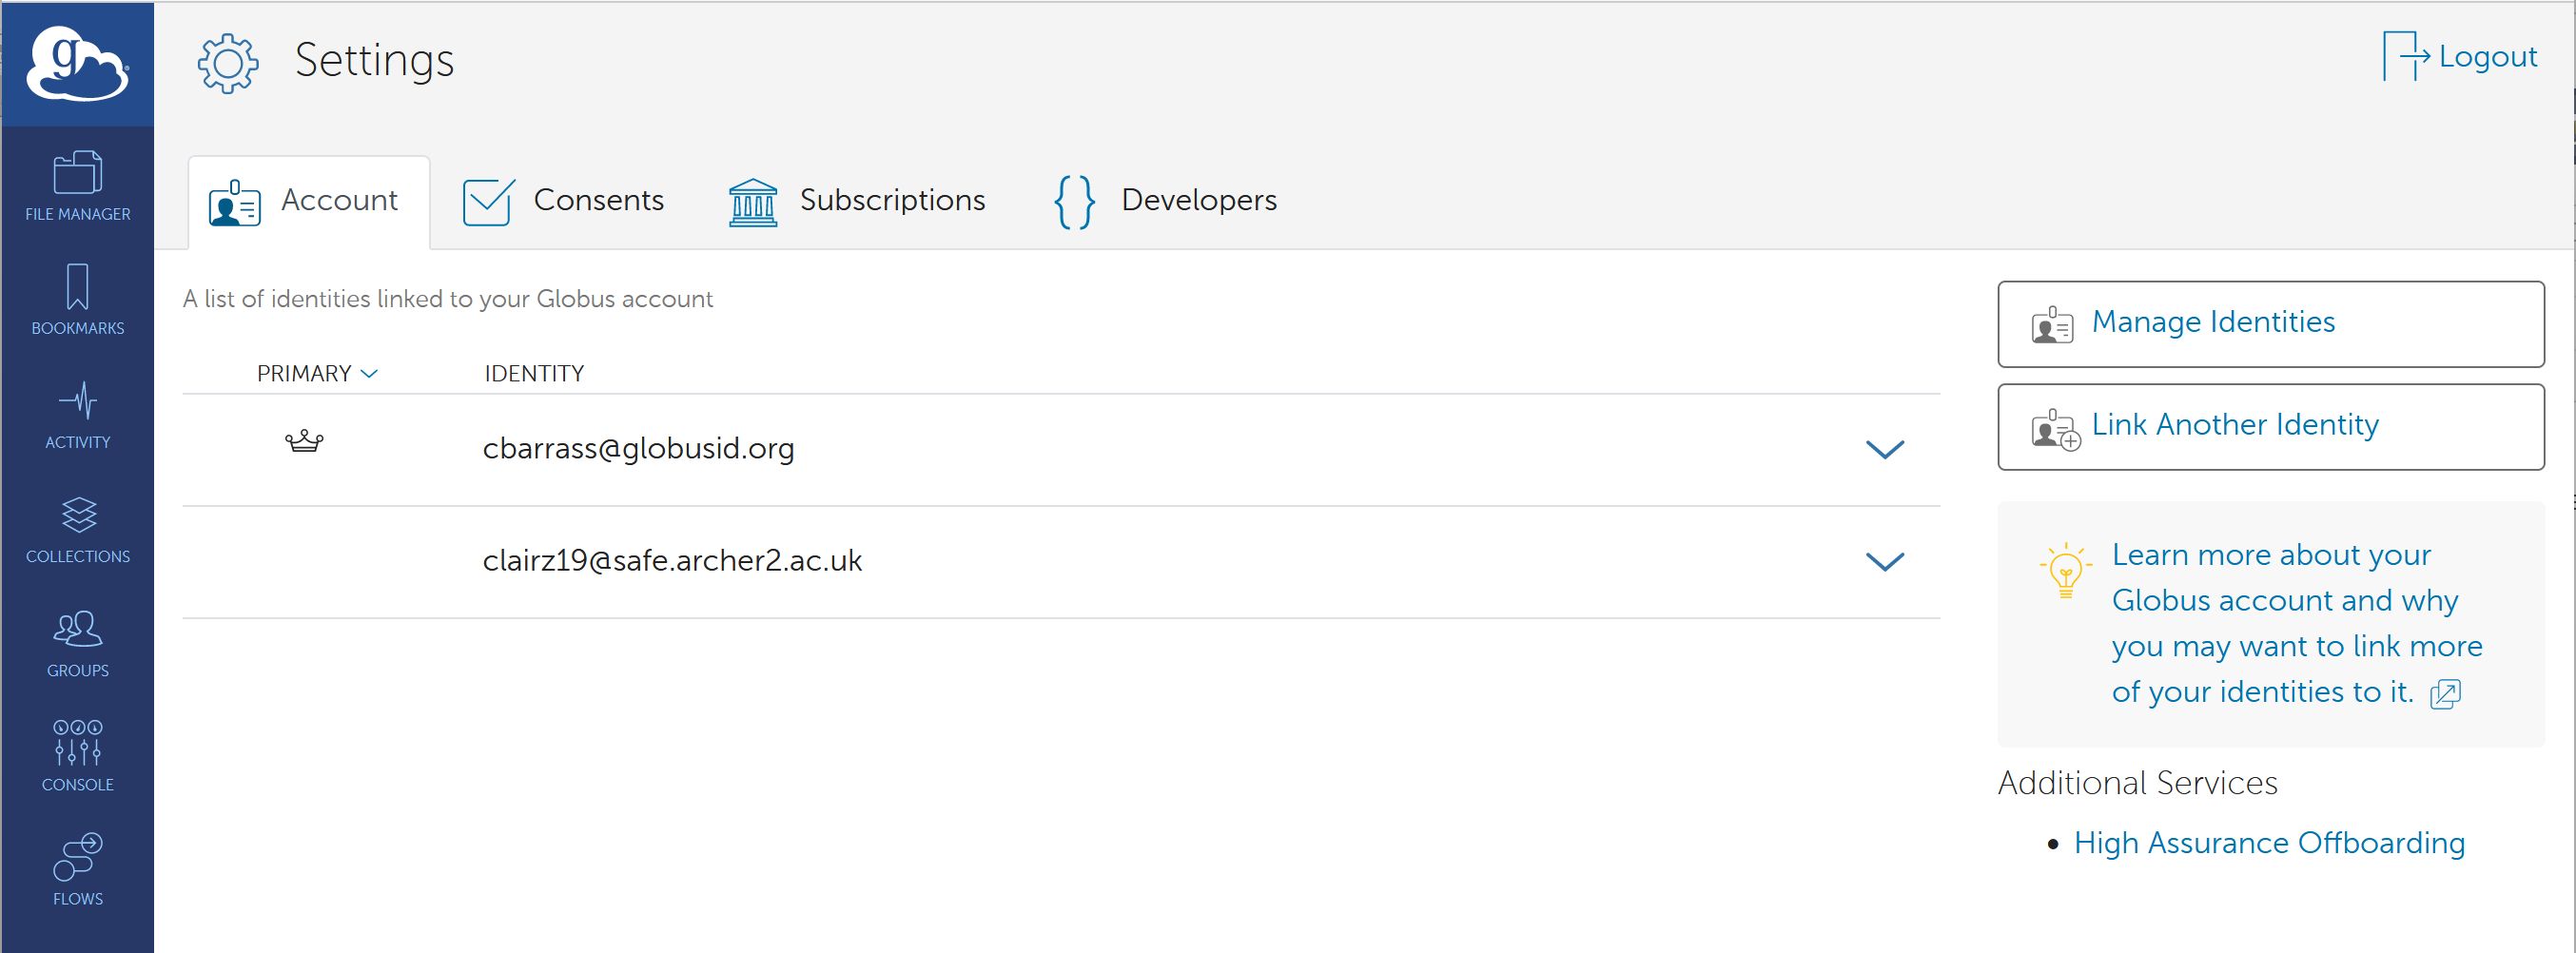
Manage Identities
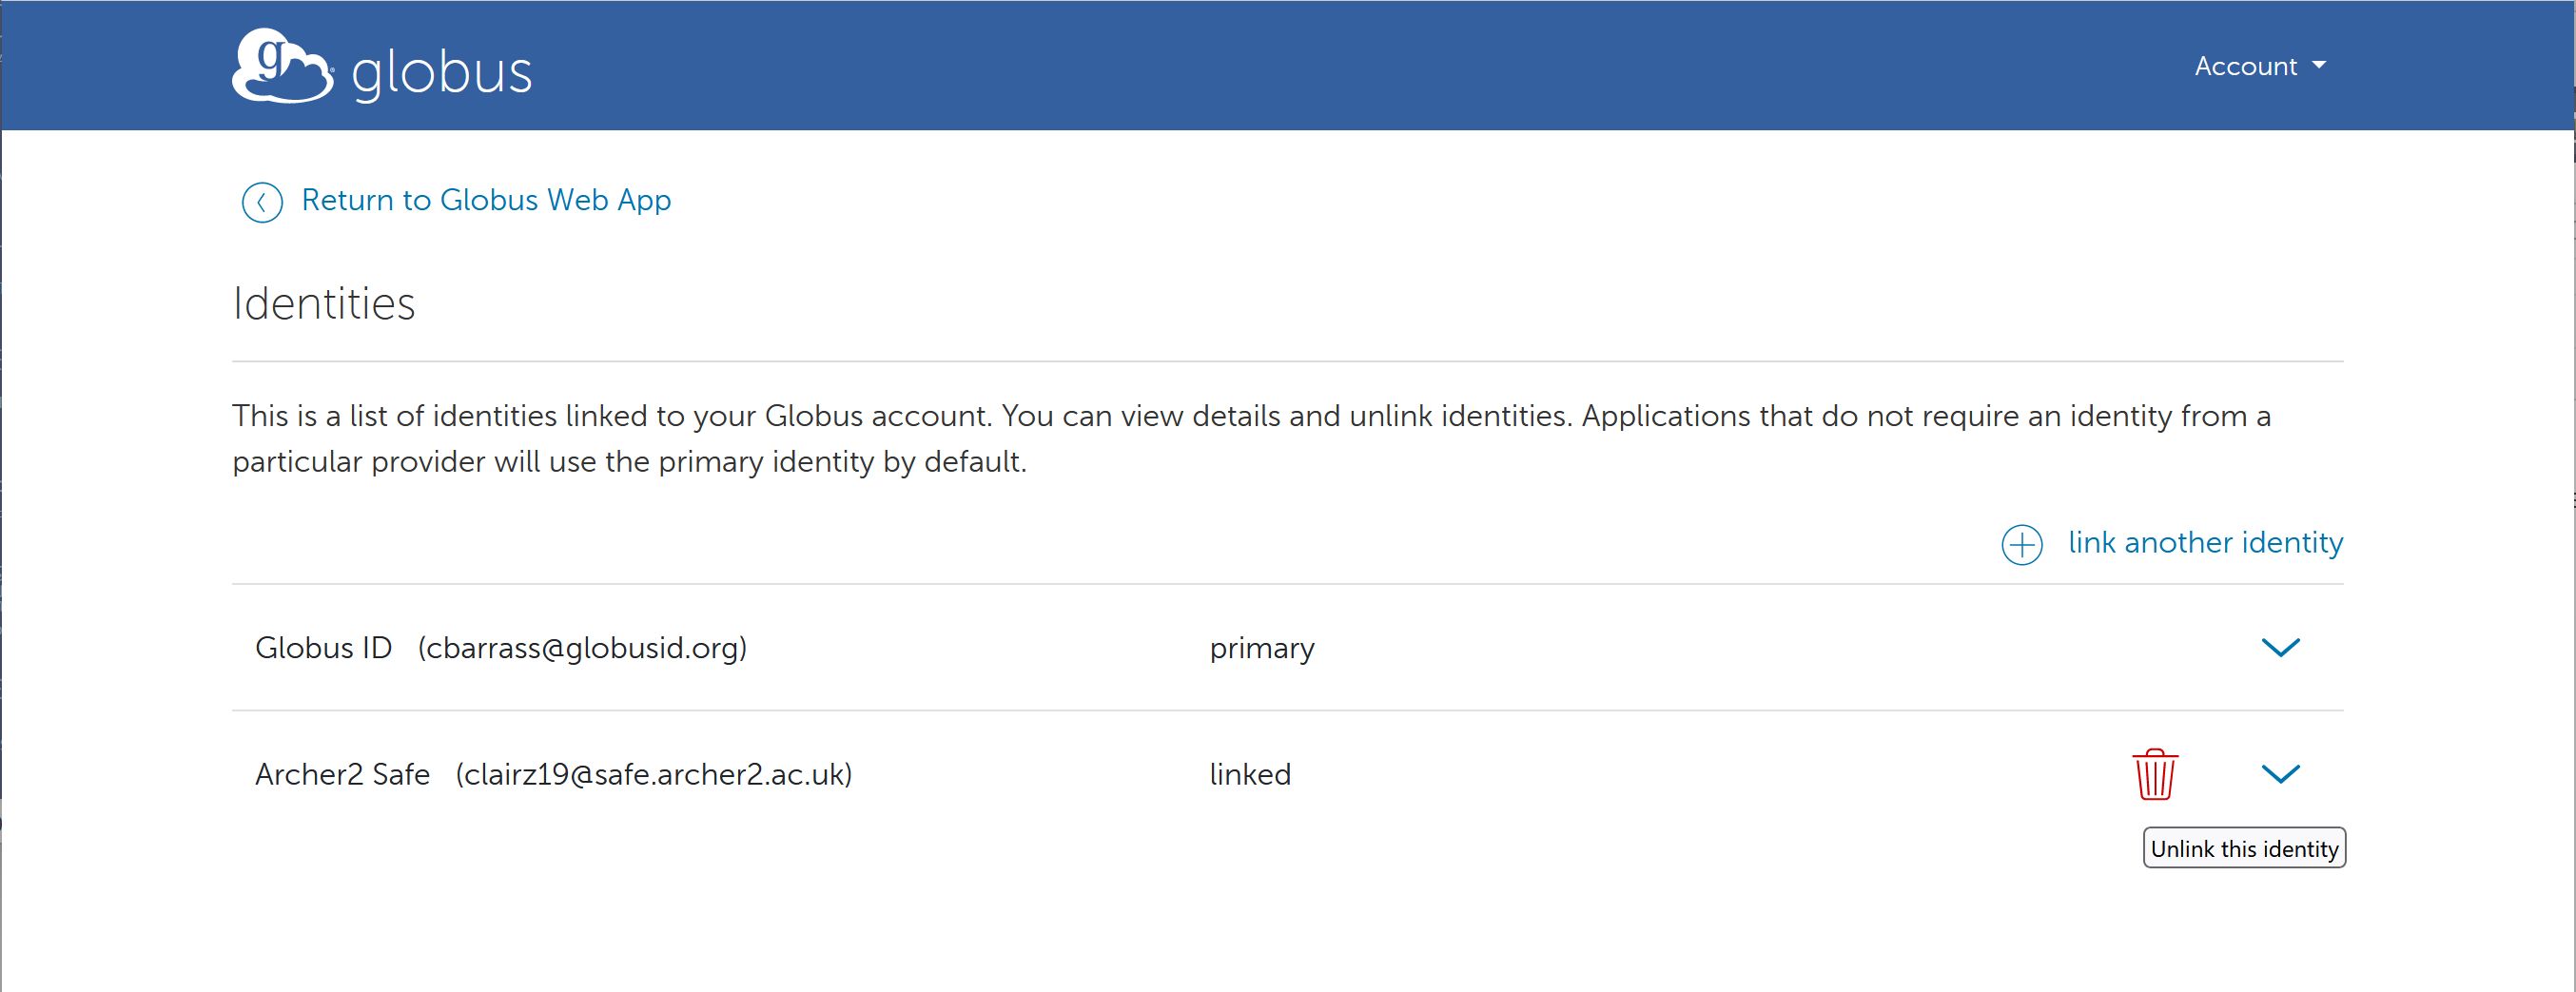
And Unlink the current ARCHER2 safe identity, then repeat the link process with the other ARCHER2 account
Globus Command Line Interface (CLI)
The Globus CLI is also available on ARCHER2 for transferring data. You can make it available with
module load globus-cli
For more information on use, see the Globus CLI documentation.